Report template properties
Report template properties give you control over the content of your report template in a different way. Define fields needed to validate your project, filter the contents of your project, or even change the title of your document.
Basic details
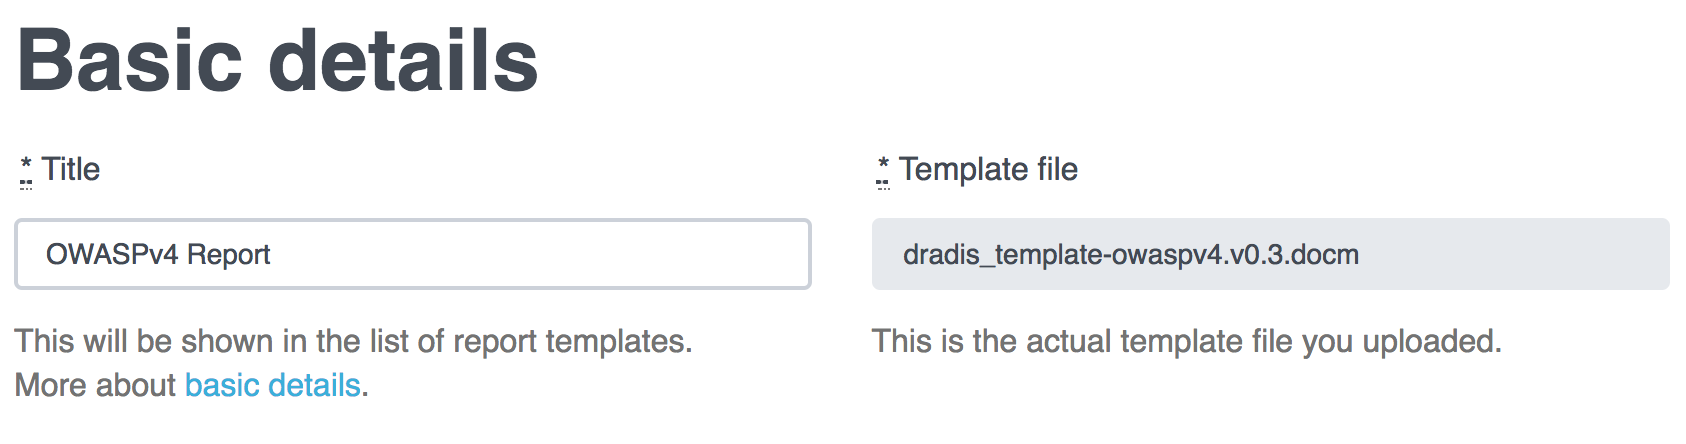
Quickly edit the Title of your template. The Template file field will always display the original name of the document at the time you uploaded it.
- Log in as Administrator.
- From the Projects page, navigate to Templates > Reports.
- Click the Edit icon below the correct template.
- Edit the Title field.
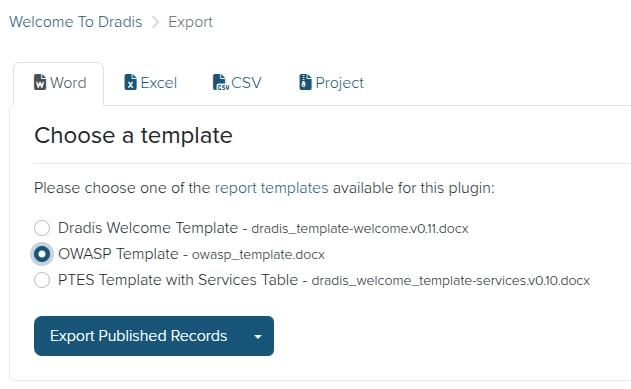
The Title that you set in the report template properties will appear on the Export page along with the filename:
Content blocks
Define the Content Blocks that your Word report is looking for so that Validate Export can check your document for any missing Block Groups.
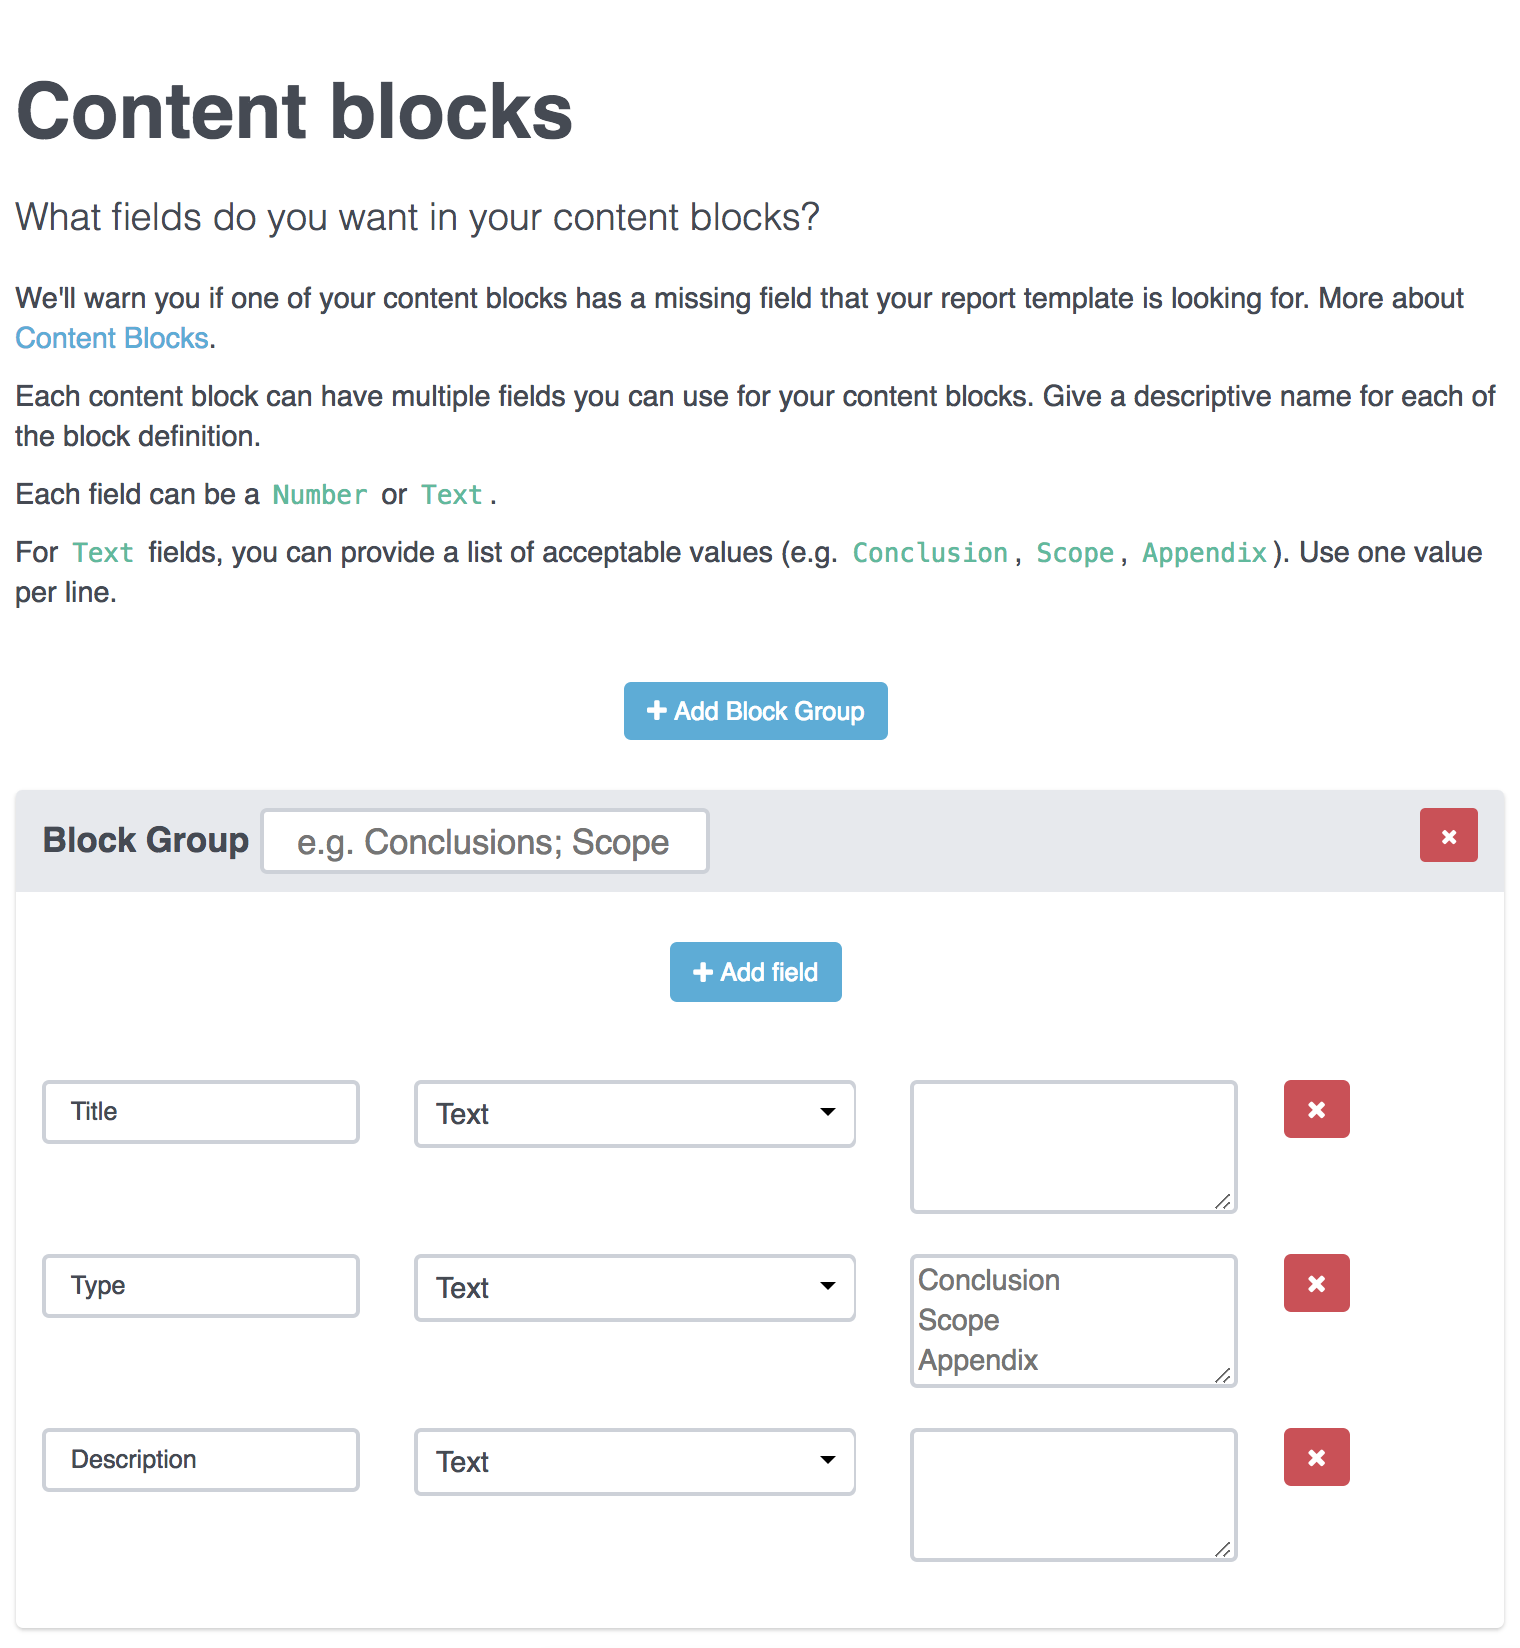
First, it's important to note that the Block Group is an identifier that you can use to categorize individual Content Blocks. For example, you could have 2 Content Blocks that are inside the Appendix Block Group if you needed 2 Notes in your report’s Appendix section. Name the Block Groups however it makes sense for you.
For the example below, we're going to define a Block group for the following Note template:
#[Title]#
Overall Risk Rating
#[Type]#
Risk
#[Risk]#
High | Medium | Low
#[Description]#
- Log in as Administrator.
- From the Projects page, navigate to Templates > Reports.
- Click the Edit icon below the correct template.
- In the Content blocks section, define all the fields within your Note Template. For the example template above, we need to define fields for
Title,Type,Risk, andDescription. Don't forget to give the Block Group a name!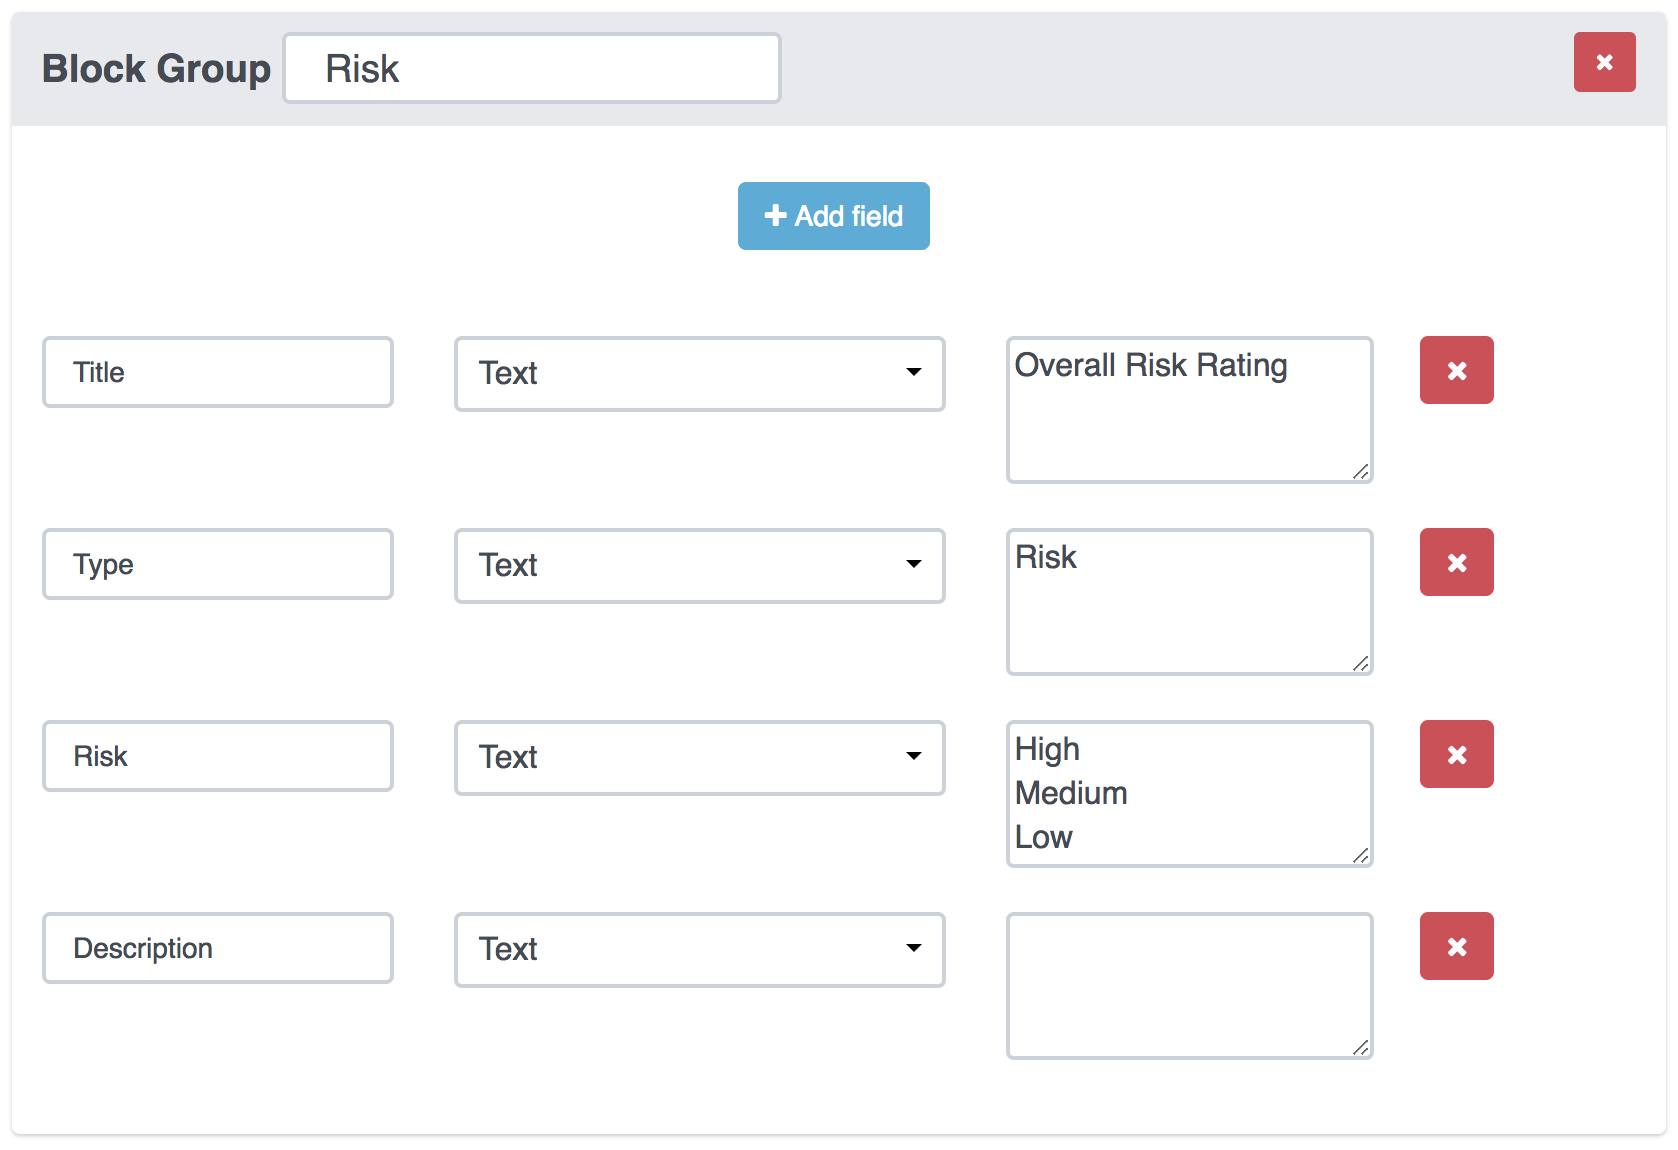
Each content block field has a Type: List, Number, or Text. Set a field to List and define its values when the field has a fixed set of acceptable options (e.g. High, Medium, Low for Risk). This allows Dradis to flag any values that don't belong (e.g. Critical).
Document properties
Define the custom document properties in your Word report so that Validate Export can check your document for any missing properties on export.
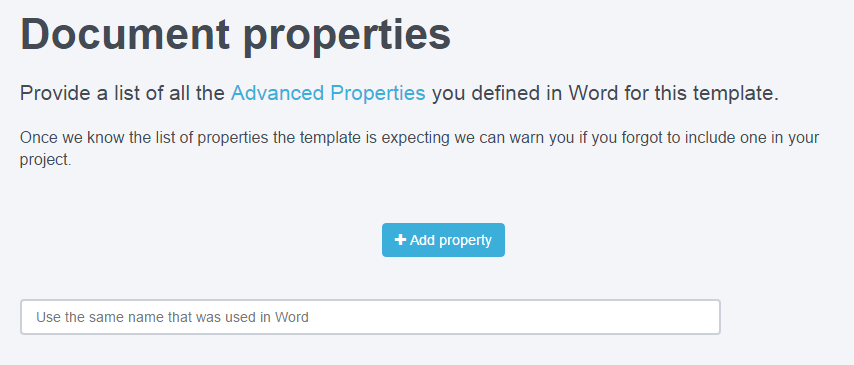
If you haven't already, please review the Adding document properties page of the Custom word reports guide.
For the example below, we're going to define the three fields in this simple report template:
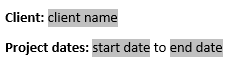
These fields are defined within Dradis as dradis.client, dradis.startdate, and dradis.enddate respectively.
To define these custom document properties:
- Log in as Administrator.
- From the Projects page, navigate to Templates > Reports.
- Click the Edit icon below the correct template.
- In the Document properties section, define all of the fields within your Project Properties template.
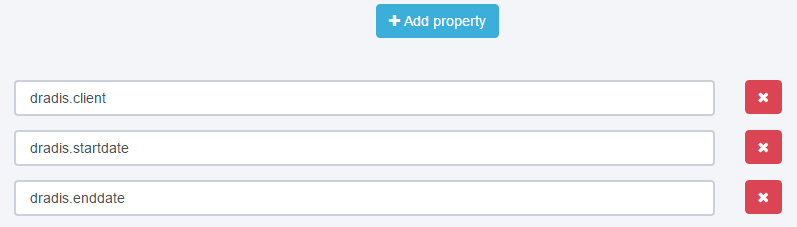
For the example above, we would define custom properties for
dradis.client,dradis.startdate, anddradis.enddateas shown below:
Issue fields
Define the fields within your Issues so that Validate Project knows what to look for on export and can warn you about any missing or incorrect fields in your project. And, this allows Dradis to automatically validate each Issue as you save it.
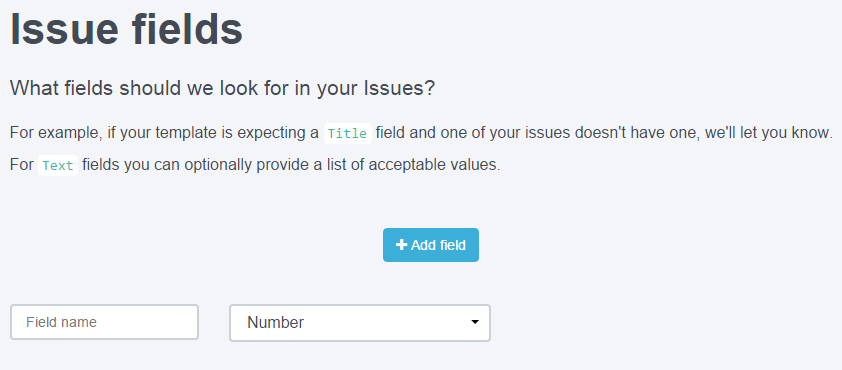
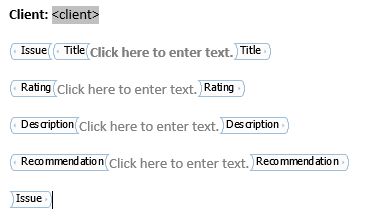
For the example below, we're going to define the Issue fields for this simple template:
- Log in as Administrator.
- From the Projects page, navigate to Templates > Reports.
- Click the Edit icon below the correct template.
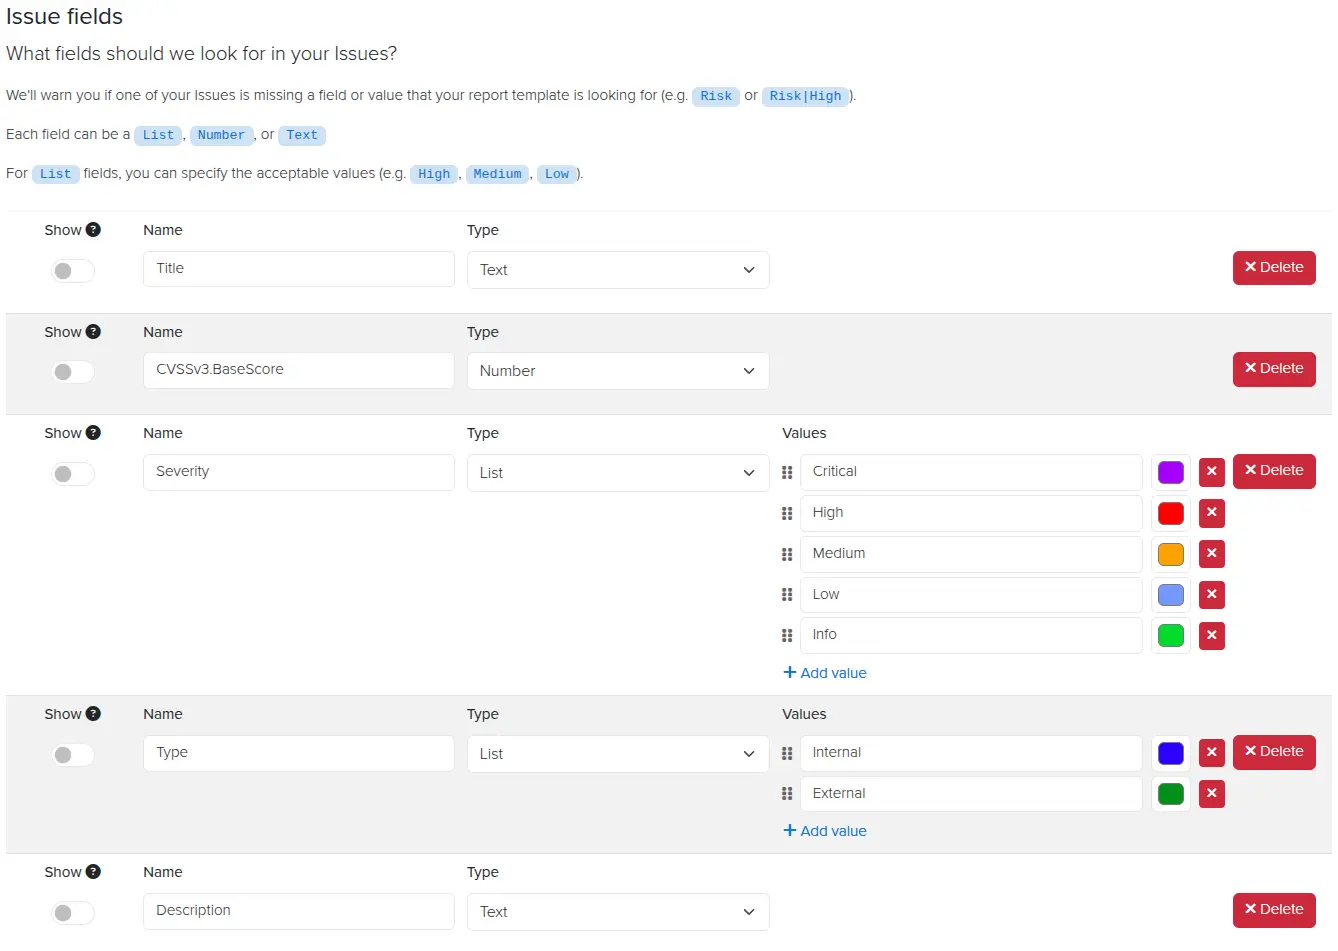
- In the Issue fields section, define all the fields within your Issue Template. For the example template above, we need to define fields for
Title,Rating,Description, andRecommendation.
Each field has a Type:
- List — a field with a fixed, ordered set of named values (e.g. High, Medium, Low). Use this type when the field drives sorting, filtering, or color-coded formatting in your Word report.
- Number — a numeric field (e.g. a CVSS score).
- Text — a free-text field with no fixed set of values.
List field values
When the field type is set to List, you can define the acceptable values. This is important if your report template sorts or filters Issues by this field — any value that does not appear in the list will trigger a validation warning (e.g. entering Critical when only High, Medium, and Low are defined).
Each list value has a name and an optional color. The order of the values matters: it determines how Dradis sorts Issues when this field is used as an Issue sort field.
To add and configure list values:
- Set the field Type to List.
- Click Add value to add a new entry. Enter the value name (e.g.
High). - Use the color picker to assign a color to this value. The color is used in Word reports — see Color-coded content controls for details.
- Repeat for each value in the list.
- Drag the handle to reorder values. The order here is the sort order Dradis will use when this field is an Issue sort field.
Evidence fields
Define the different fields that each instance of Evidence in your project should contain. This lets the Project Validator know what to look for on export and can warn you about any missing or incorrect fields in your project. And, this allows Dradis to automatically validate each piece of Evidence as you save it.
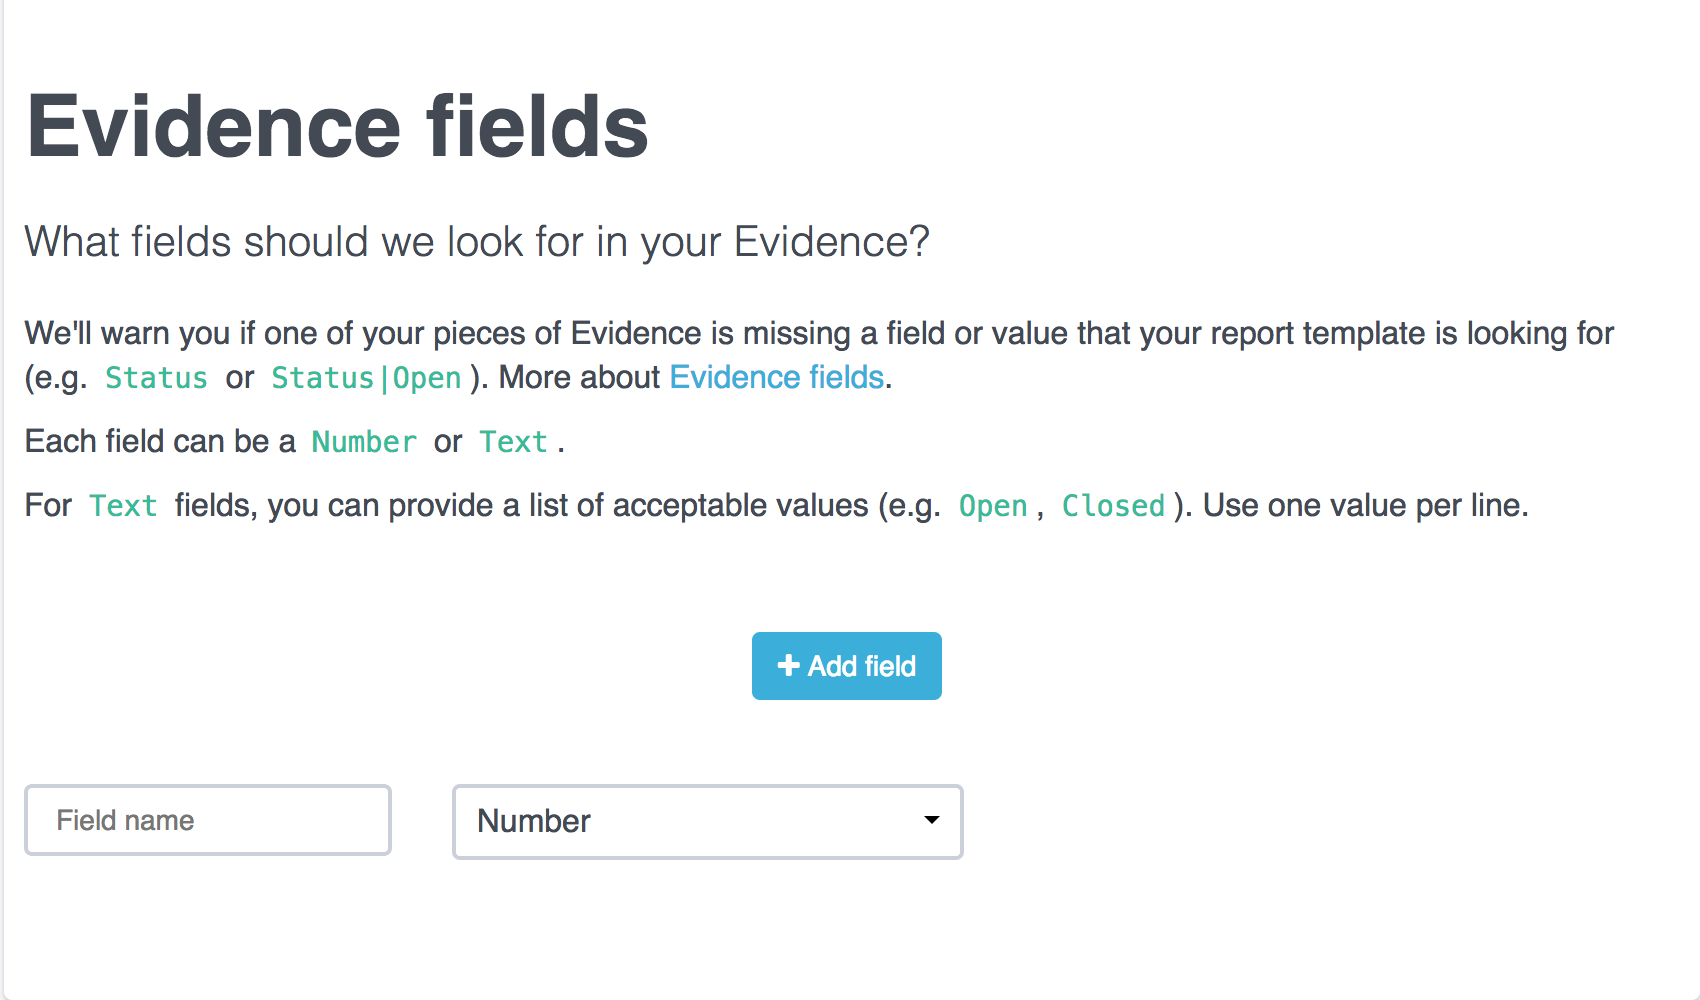
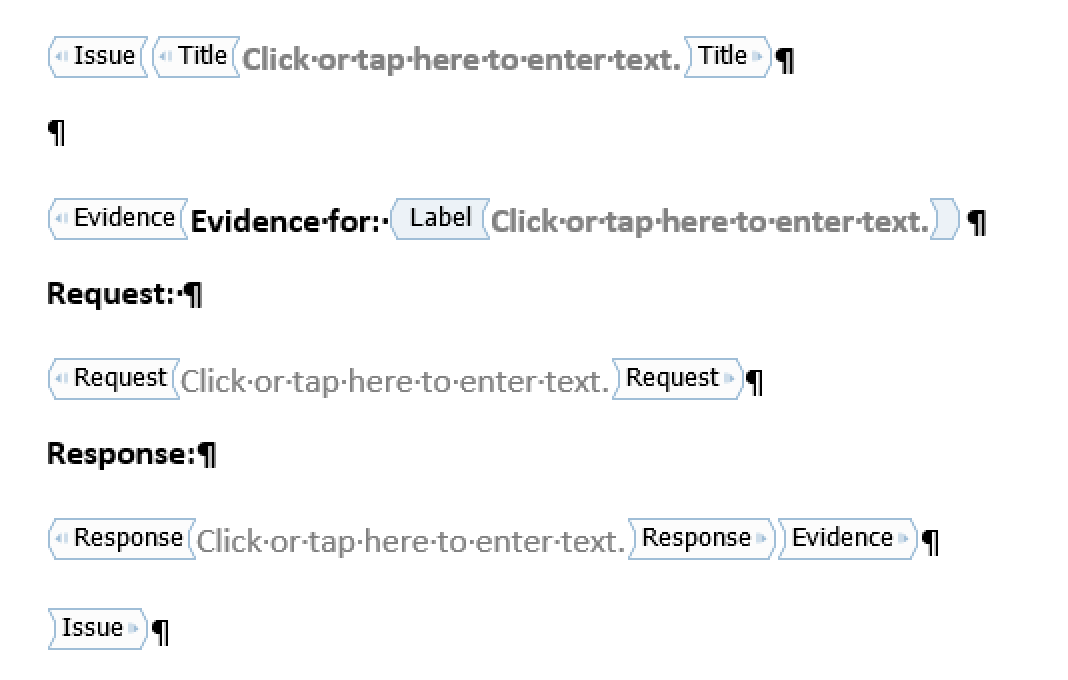
For the example below, we're going to define the Evidence fields for this simple template:
- Log in as Administrator.
- From the Projects page, navigate to Templates > Reports.
- Click the Edit icon below the correct template.
-
In the Evidence fields section, define all the fields
within your Evidence Template. For the
example report template above, we need to define fields for
Status,Request, andResponse.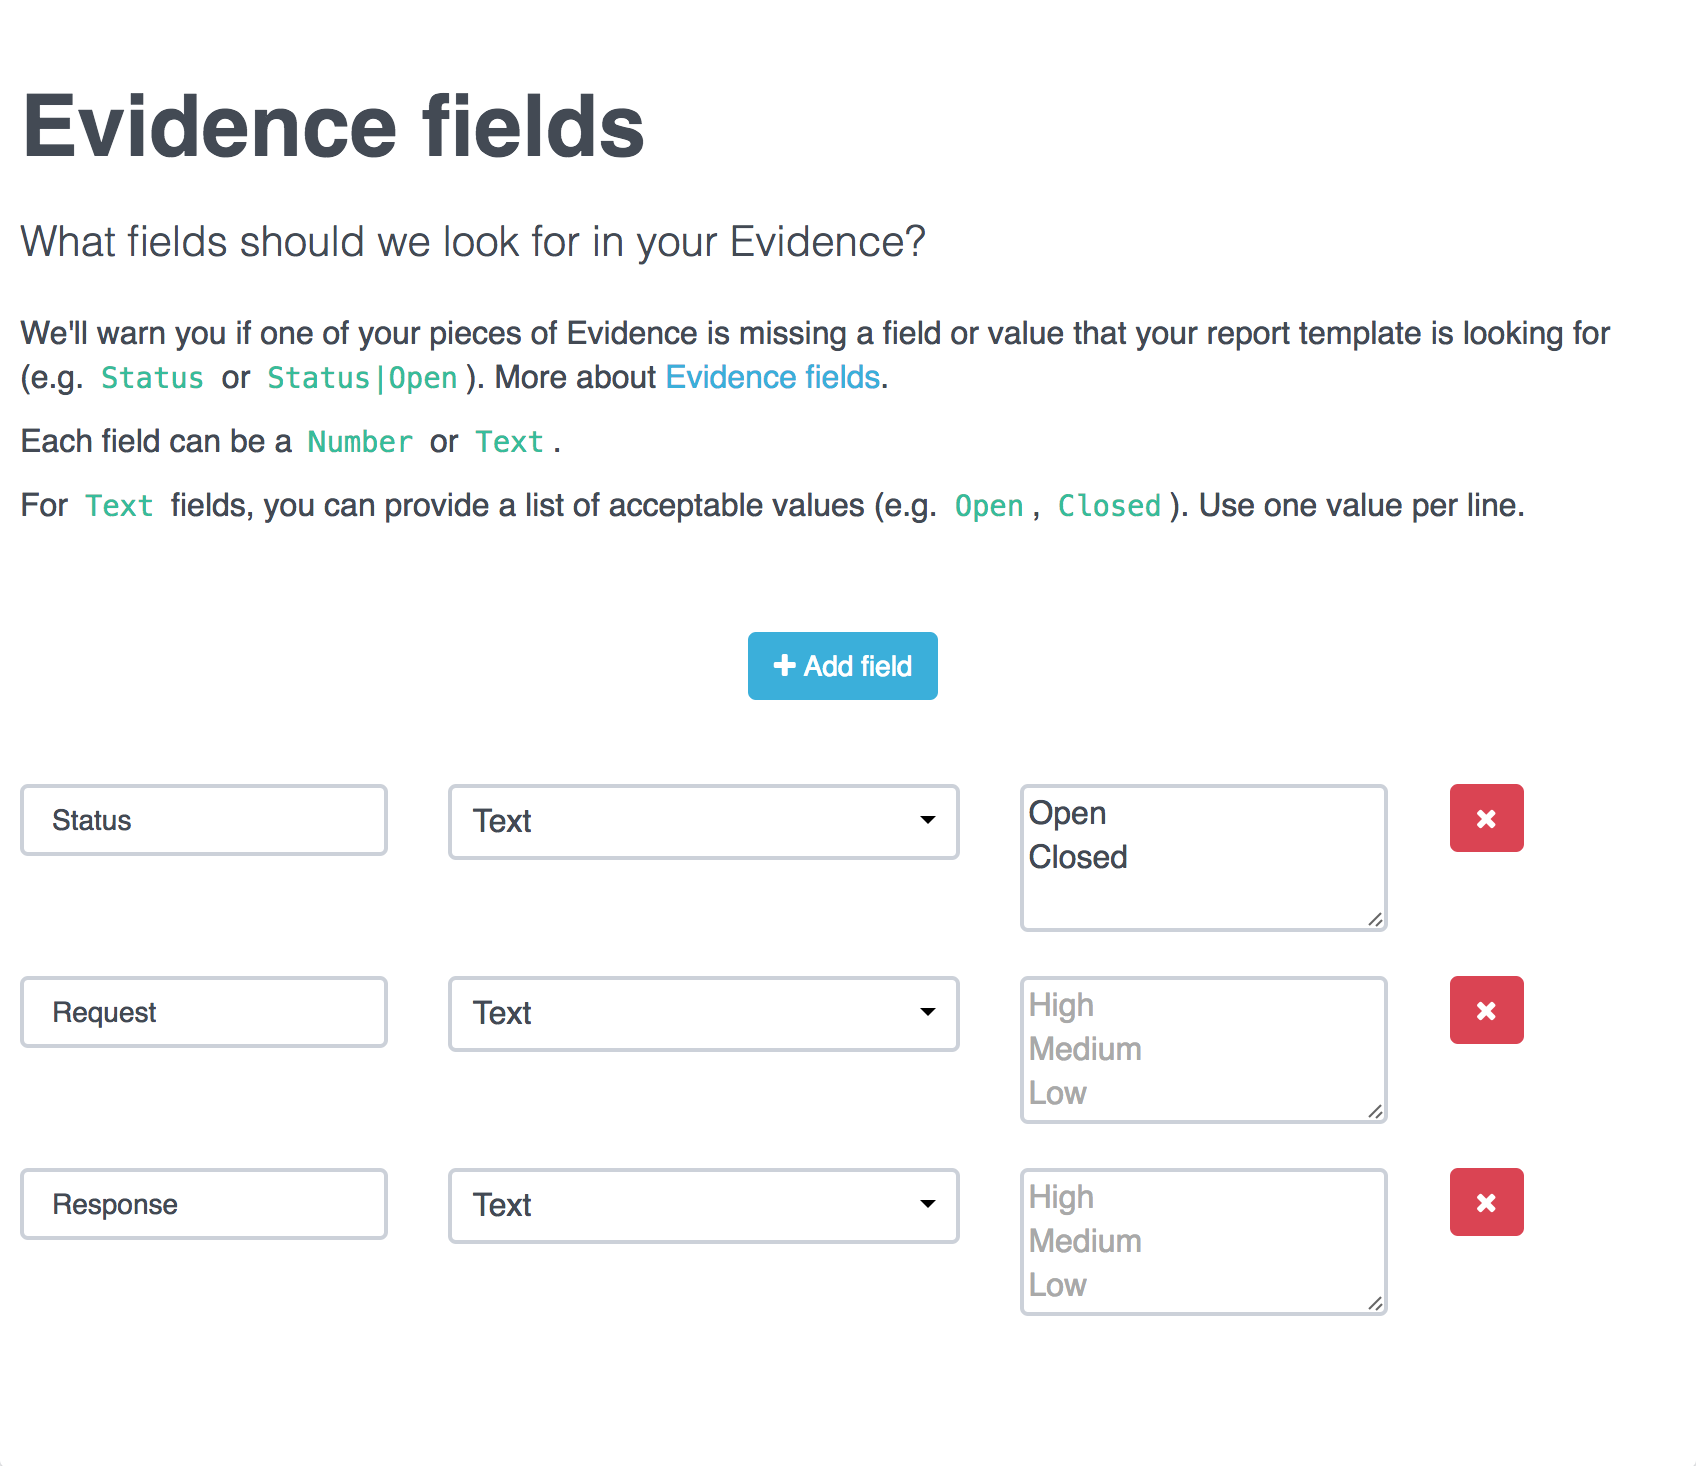
As with Issue fields, each Evidence field has a Type: List, Number, or Text. When the type is set to List, you can define an ordered set of acceptable values. For example, setting Status to a List with values Open and Closed means Dradis will flag any piece of Evidence whose Status field contains a value that is not in that list (e.g. Pending).
Issue sorting
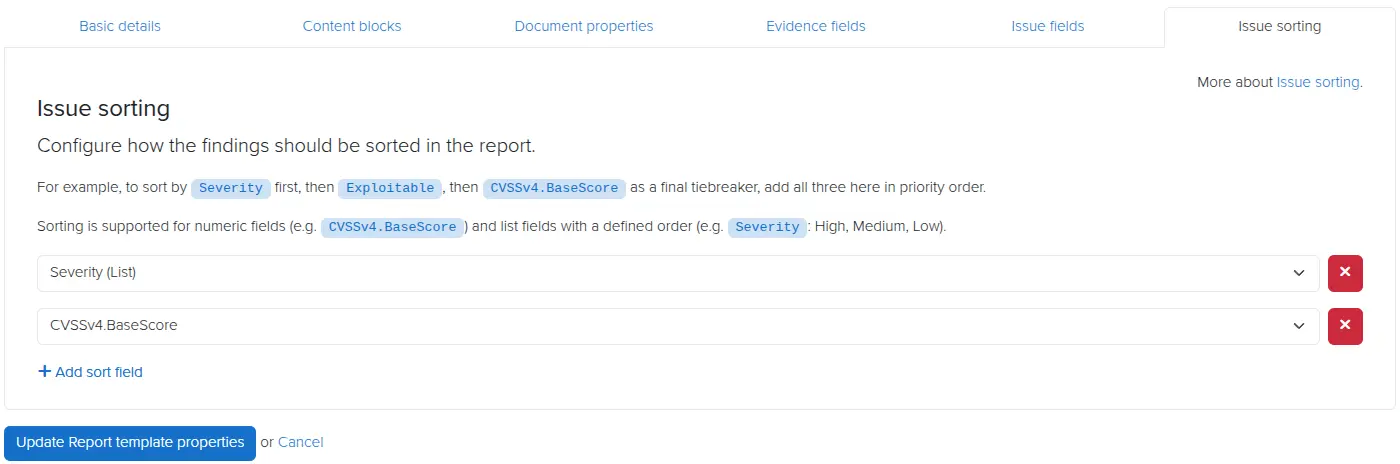
Sort the Issues in your project by any of the Issue Fields you've defined. Both numeric fields and List fields with a defined order can be used as sort fields. Issues are sorted before being exported to your Word report.
You can add multiple sort fields in priority order. For example, to sort by Severity first (a List field), then CVSSv4.BaseScore as a tiebreaker (a Number field), add both fields here in that order.
For more options to organize your Word report including organizing by non-numeric fields, please review the Filtering and Sorting page of the Custom Word Reports guide.
- Log in as Administrator.
- From the Projects page, navigate to Templates > Reports.
- Click the Edit icon below the correct template.
- Under the Issue sorting tab, click Add sort field and select the field you want to sort by. For List fields, sorting follows the order in which values are defined in the List field (highest priority first).
- Add additional sort fields if you want a secondary sort order.
Issue sorting will only apply to Word reports and will not apply to Excel or HTML reports. Excel reports can be sorted with a post-export macro. HTML reports can be sorted by different Ruby code approaches in the report template.
Auto-generate properties on upload
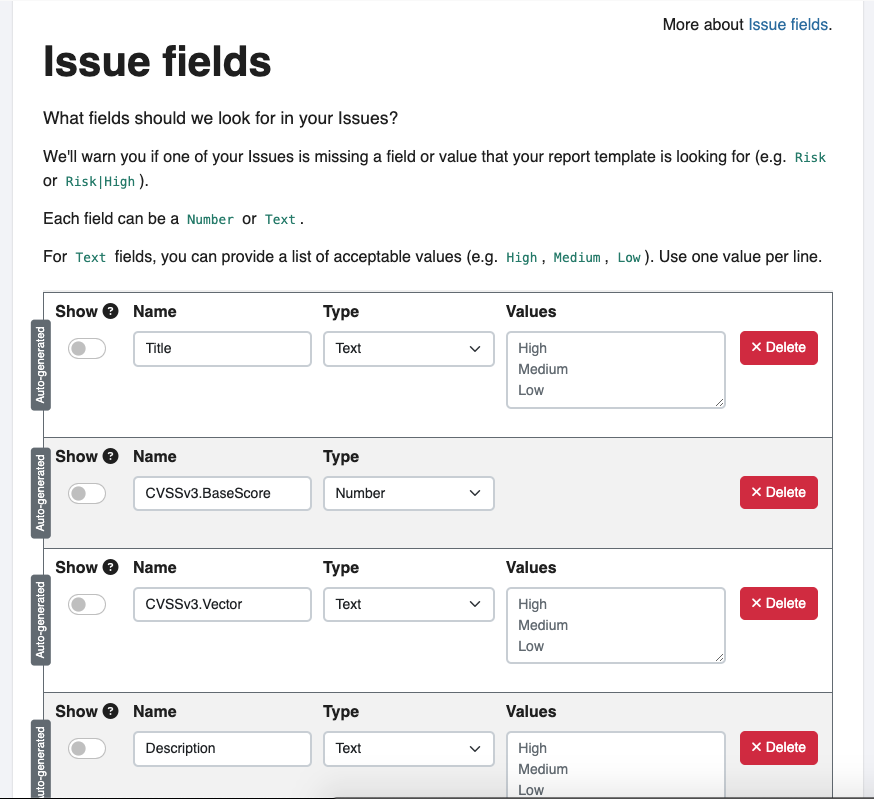
When you upload your report template, you can select Auto-generate properties from the uploaded template. Behind the scenes, Dradis will scan your report template during the upload process and generate the report template properties based on the content controls and fields in the document.
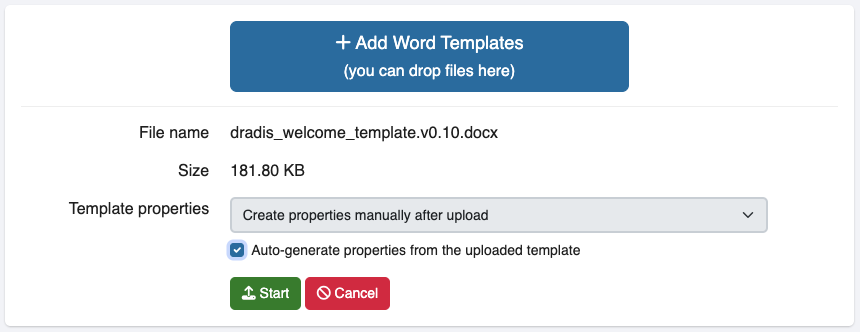
Please review the properties after upload to ensure that all fields, values, and types appear as expected.
Validation
Issue and Evidence fields: validate your projects
The Issue and Evidence fields are used to validate your project during the export process. Plus, they automatically check every Issue and instance of Evidence in your project as you save them.
Now when you validate your project on export, you'll know immediately whether your project's Issue and Evidence fields match the fields that your report template is looking for.
For more details on project validation, please review the Validate your project page of the Debugging your template guide.
Automatically validate Issue and Evidence fields
When your project is associated with a report template with Issue and Evidence fields defined, Dradis will automatically validate each Issue and each instance of Evidence in your project as you save it.
When you create your project, make sure that it is associated with the correct report template that has the Issue and Evidence fields defined.
Then, every time you update an Issue or piece of Evidence, Dradis will check to make sure that the fields match the expected fields you set in the report template properties.
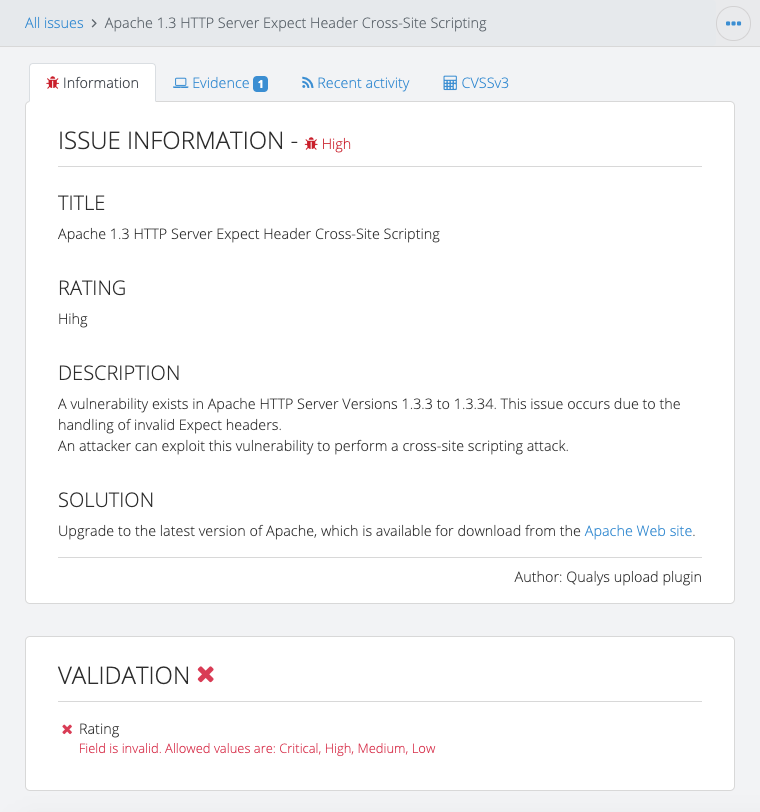
In this example, Dradis is expecting a Rating field with a value of High, Medium, or Low within the Issue. We misspelled the field value and entered Hgih so we will see the following error message:
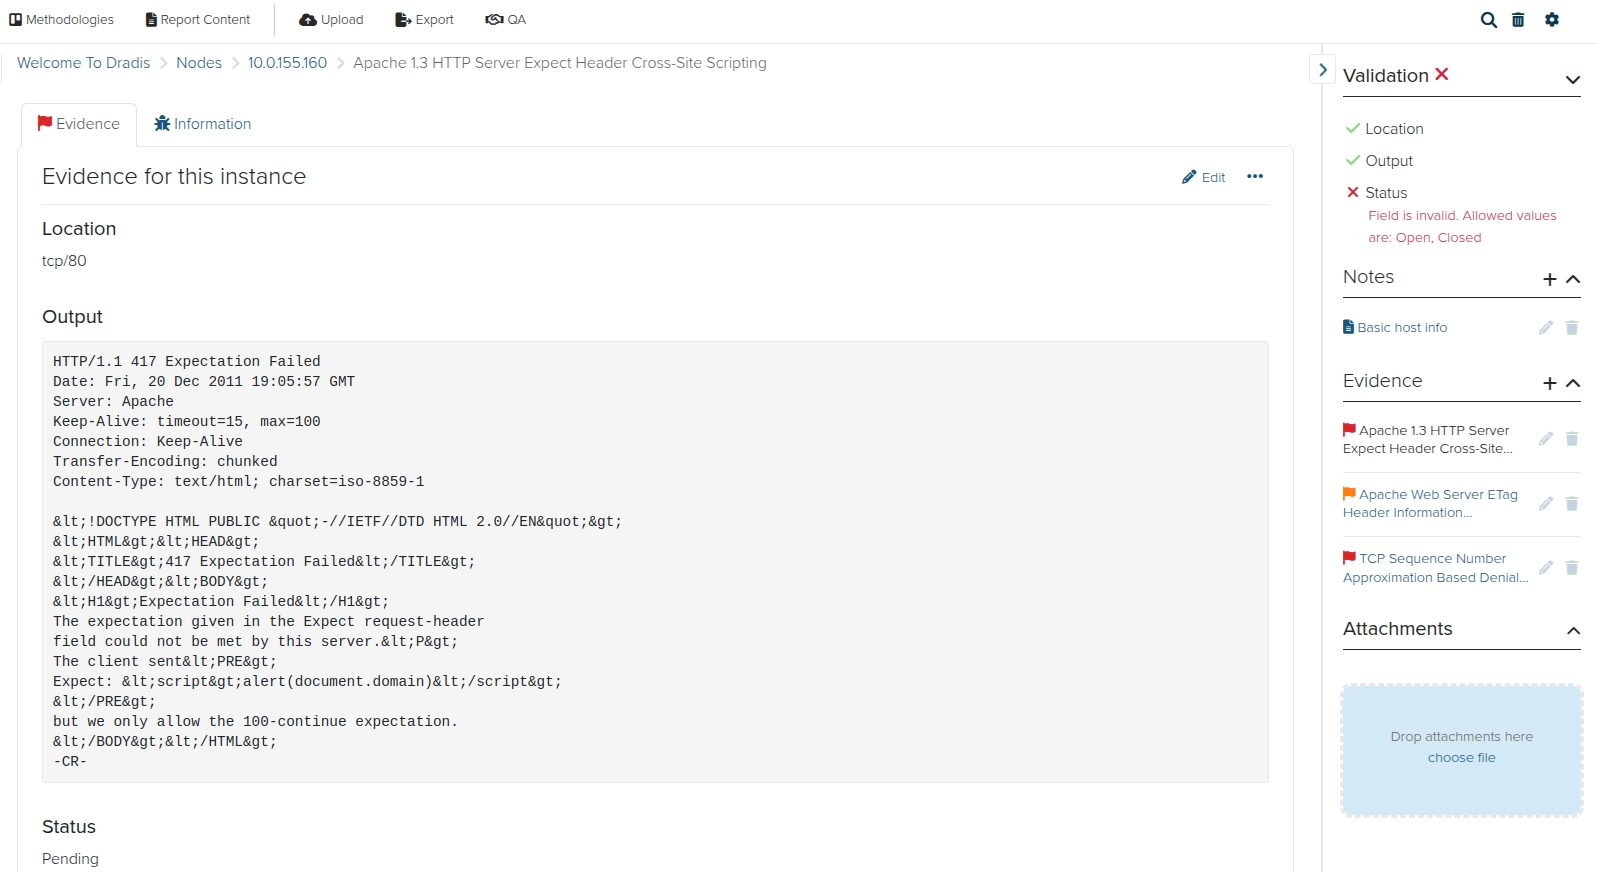
In this next example, we have an instance of Evidence that contains a Status field but has an invalid value. Dradis is expecting a Status field value of Open or Closed but this piece of Evidence has the Status set to Pending so we will see the following error message:
Next help article: Note templates →