Project templates
This page contains:
- The case for using project templates
- Choosing a project template
- What to include in a template
- Creating a project template
When you create a new project in Dradis Pro, you start with a blank slate. A project template is a way to kick-start the project with some default content.
The case for using project templates
In one word: consistency.
If you are anything like the typical Dradis user, you'll be involved in dozens (if not hundreds) of projects each year. If all your projects are organized in the same way, finding stuff is a whole lot easier.
An added advantage for those working as part of a team: if everyone is using the same template, you know where to find X piece of information, no matter who was working on the original project.
Choosing a project template
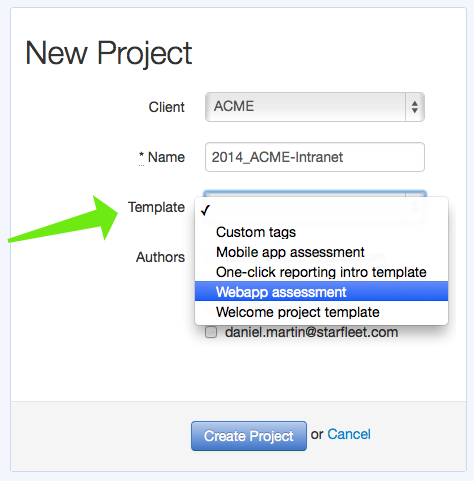
When you are creating a new project, you can select to apply a template using the drop-down list:

What to include in a template
A project template can have any of the components we learned about in Projects 101.
However, the most useful items to include in your project are:
- A tree of nodes: to provide the basic structure for this project type.
- A set of methodologies: so every project starts with the same list of tasks-to-be-done.
- A few default / placeholder notes: to provide common details like project name, scoping information, credentials, etc.
Creating a project template
There are three steps involved in creating a project template:
- Create a normal project, and add all the components you want (nodes, methodologies, etc.).
- Export this project and save it to your laptop.
- Create a new project template using Dradis administration interface based on the exported project.
Creating the project
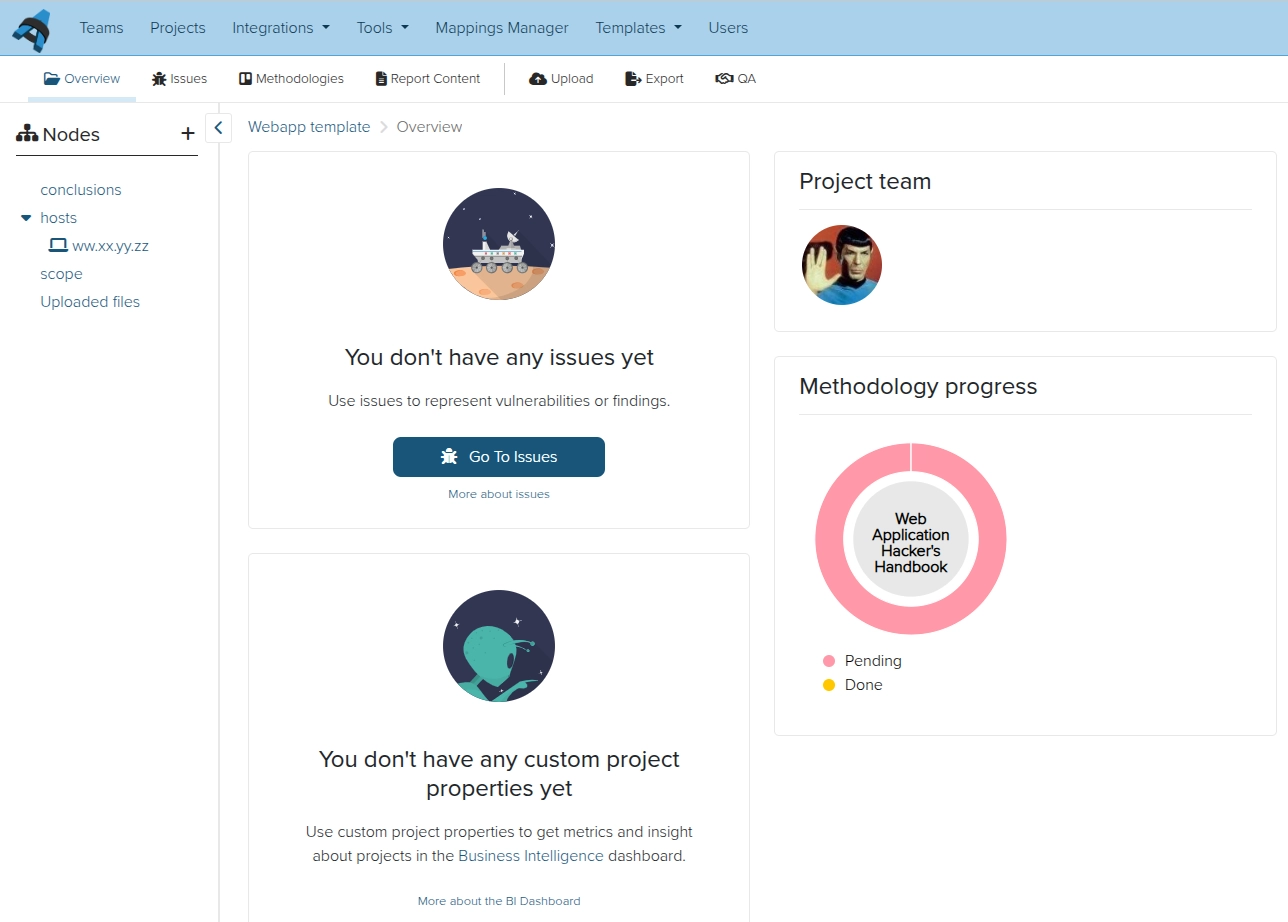
Nothing groundbreaking here, for the example, We've created:
- A few nodes:
scope,hostsandconclusions. - A testing methodology: the Web Application Hacker's Handbook checklist.
The idea is to have some scoping information like URLs and credentials under scope. Add sub-nodes representing each server under hosts and make notes about interesting insights we gain throughout the engagement and keep them under conclusions.

Export the project
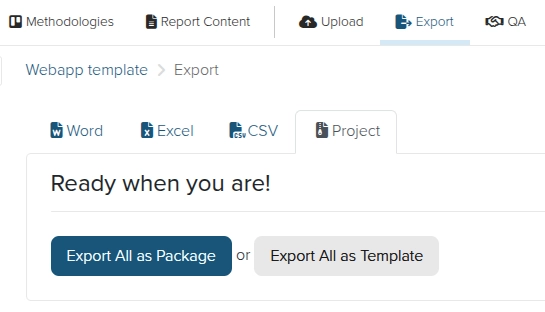
Once you are happy with your project's structure, it's time to export it as a file. Find the Export results link in the top navigation bar:

And choose Project export > As template:

Create the template
Because project templates are a system-wide feature (you create a template and it becomes available to all Dradis users), you need Administrator privileges to create a template.
If you are an administrator head over to the Administration manual to learn how to create a project template.
If you don't have administration privileges, send the project export file you got in the previous step to your admin, and he can create the template for you.
Next help article: Upload and work with tool output →