Code blocks
This page contains:
- Blocks of code in Dradis
- Blocks of code in Word
- Inline code in Dradis
- Inline code in Word
- Code highlighting in Dradis
- Code highlighting in Word
You will be using blocks of code in almost every type of assessment to capture: request / response pairs, code snippets or fragments of configuration files.
All the styling syntax used in Dradis mentioned in this guide can also be automatically inserted using the editor toolbar buttons.

Blocks of code in Dradis
In the Working with notes section of the Working with projects manual we introduced the Textile marker you can use in Dradis to style a block of text as code. A quick refresher:
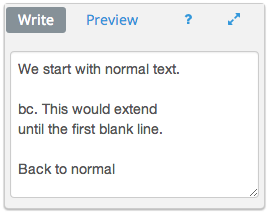
Results of bc.
We start with normal text.
This would extend
until the first blank line.
Back to normal
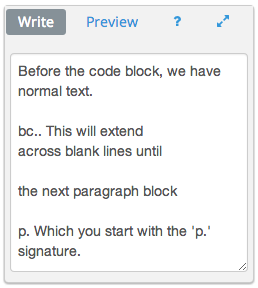
Results of bc..
Before the code block, we have normal text.
This will extend
across blank lines until

the next paragraph block
Which you start with the 'p.' signature.
Blocks of code in Word
Dradis reporting engine will detect the code blocks in your content and translate them into the generated Word report. You just need to decide how you want to style them.
Lets start with some dummy text and playing with Word styling options:
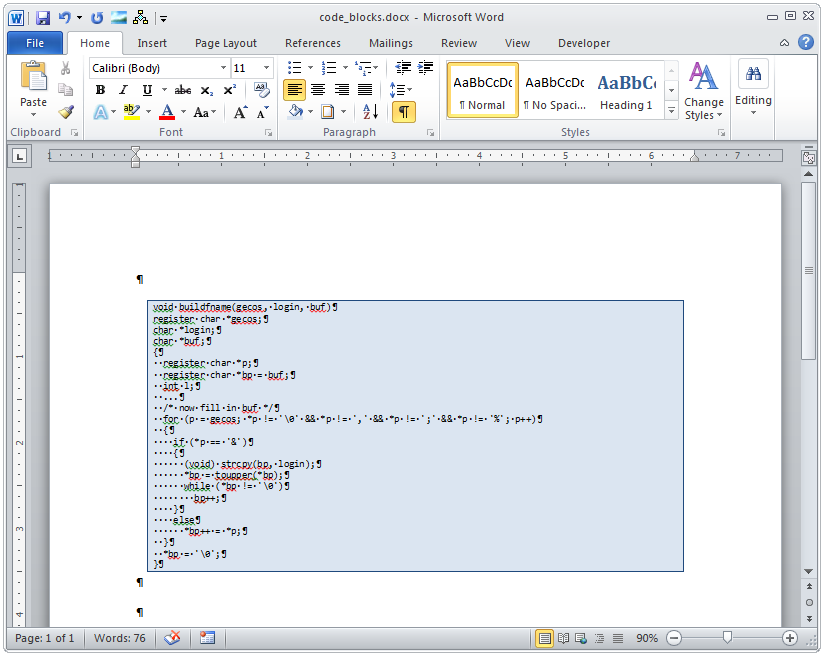
We've added a background, borders, some indents, a fixed-width font and a few other niceties. Now we need to save this style as a new Quick Style:
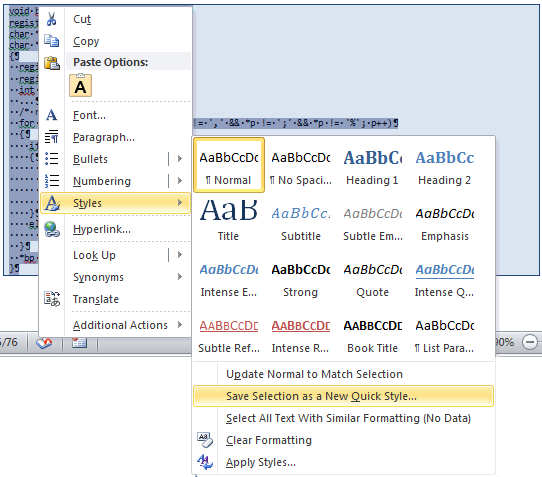
- Select the text.
- Right-click, Styles, Save Selection as New Quick Style...
- Give your new style the
Codename (capitalization is important).
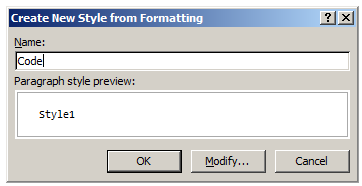
You can now delete the dummy text used to create the style from the template. Note how the new Code style now shows in the Styles toolbar:

Don't forget to upload the new report template into Dradis!
Lets create an issue to try our new template:
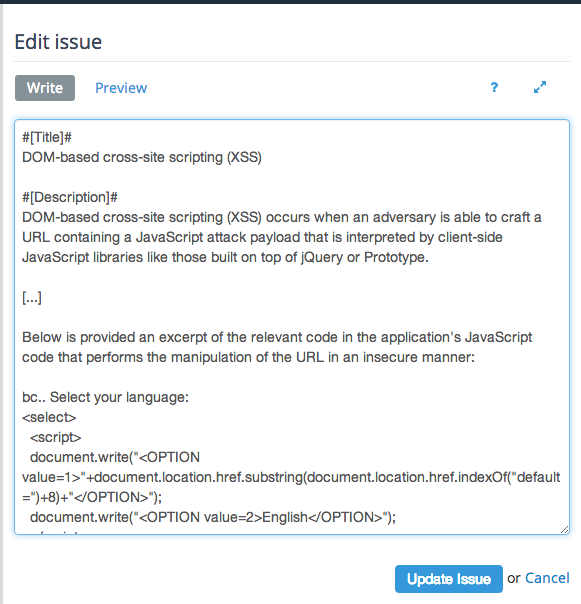
And export to see our Code style in action:

Inline code in Dradis
You can create inline code snippets by wrapping the text in @ symbols. For example:
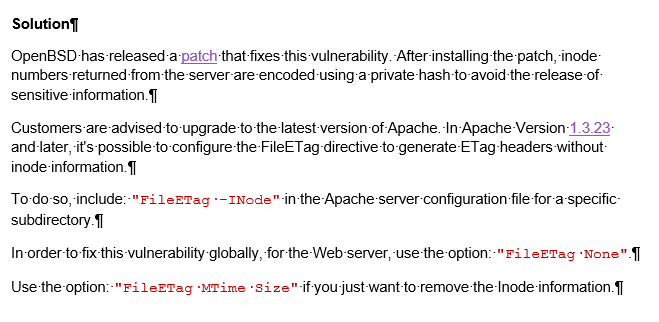
To do so, include: @"FileETag -INode"@ in the Apache server configuration file for a specific subdirectory.
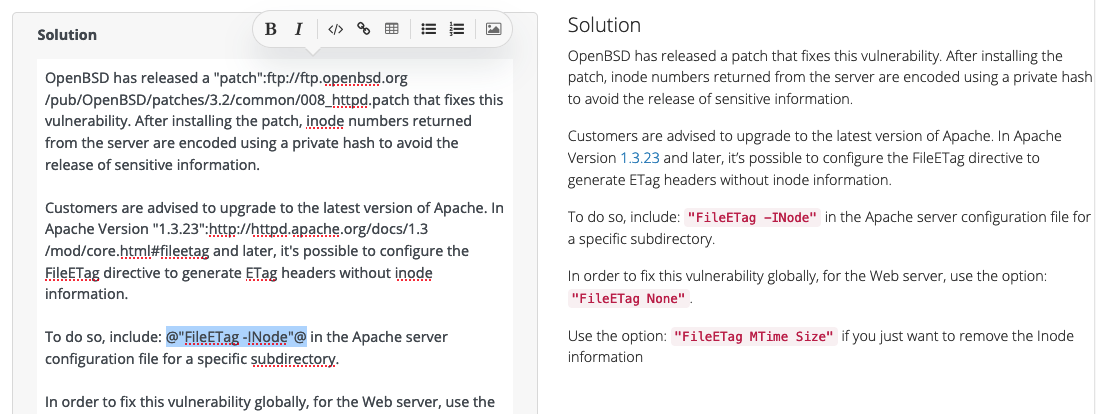
Inline code cannot be used with strings that contain @ symbols. If your string contains an @ symbol, you will need to use a code block instead.
Inline code in Word
On export, this inline code will pick up the custom InlineCode Character style in your report template but we have to create it first!
Let's start with some sample text and adjust the Word styling options. We've adjusted the font, color, and more:
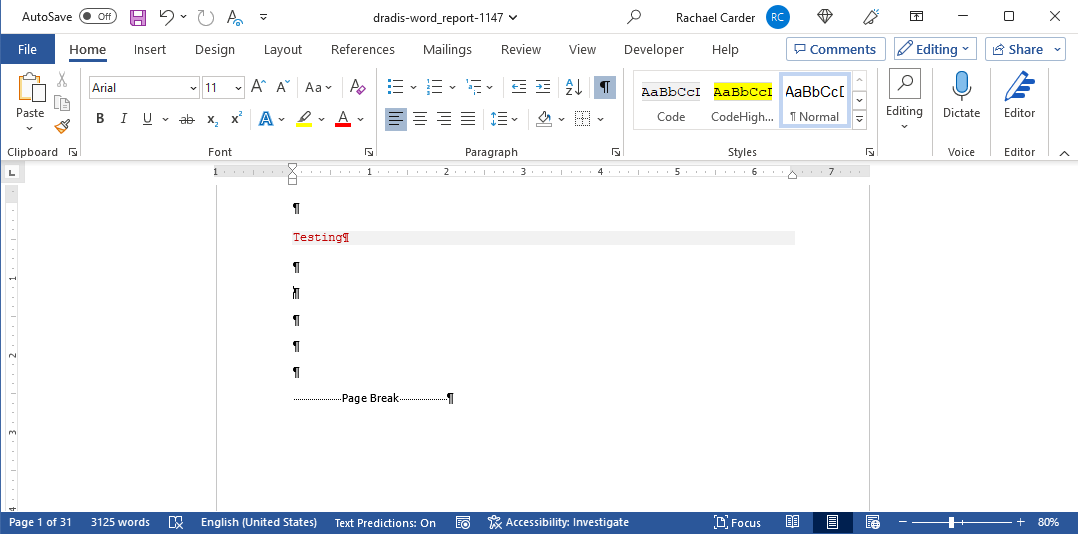
Now we need to save this style as a new Quick Style:
- Select the text.
- Right-click, Styles, Save Selection as New Quick Style...
- Give your new style the
InlineCodename (capitalization is important). - Make sure that the style is
Characterstyle type and is based on(underlying properties)
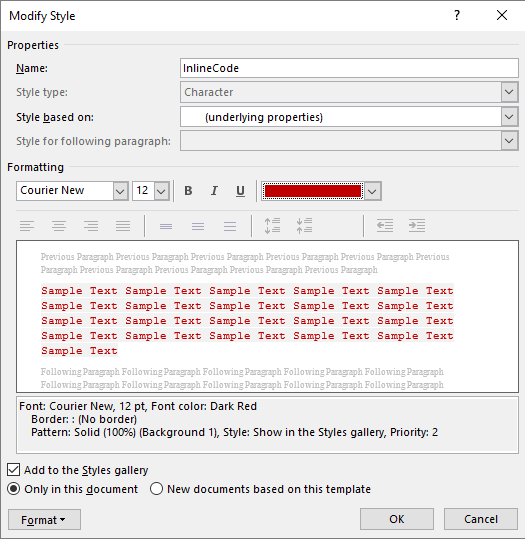
You can now delete the sample text used to create the style from the template. Note how the new InlineCode style now shows in the Styles toolbar.
Don't forget to upload the new report template into Dradis!
Now, try exporting an issue with inline code in it into your report template:

And check out the style in the exported report:
Code highlighting in Dradis
You can also use the code highlighting feature to highlight particular items within a code block.
In Dradis, you do so with the $${{}}$$ markers. For example, the following issue:
#[Title]#
Test issue

#[Description]#
Text goes here

bc. formatted code inside code blocks should be $${{highlighted}}$$
Would look like this in Dradis:
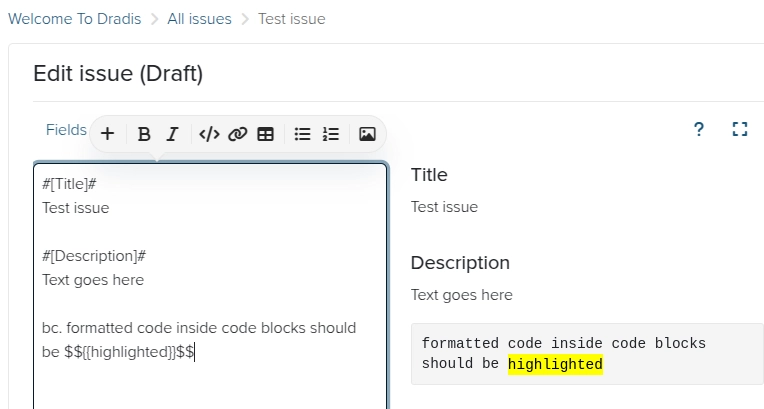
Naturally, this formatting can also be exported into your Word reports.
Note that the $${{}}$$ markers will only apply highlighting within code blocks.
Code highlighting in Word
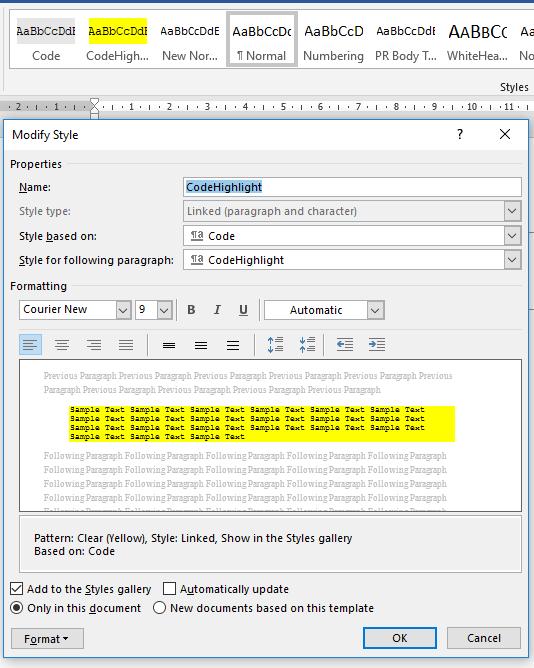
For the highlighting to carry across into your Word reports, you will need to add the CodeHighlight style, similar to how you added the Code style above. This style will be used for the highlighted code only.
If you like, you can create a new Quick Style from formatting as you did with Code earlier. To do so, modify a section of the text styled as Code to e.g. add highlighting, then Right-click, Styles, Save Selection as New Quick Style... Name the new Quick Style CodeHighlight. Note the capitalization!
Alternatively, it might make more sense to base the new style on the existing Code style, particularly if you are modifying an existing template to add the CodeHighlight feature. To do so:
- Open the Styles Gallery by clicking the down arrow on the right of the window.
- Select "Create a Style".
- Name the new style CodeHighlight. Capitalization matters!
- Set "Style type" to Linked (paragraph and character)
- Click "Modify", then for "Style based on", select
Code. - Set "Style for following paragraph" to CodeHighlight
- Select the new styling options to differentiate
CodeHighlightfromCode, e.g. adding highlighting from Format, Border..., Shading, Fill. - Click OK when you're done, and save your template.

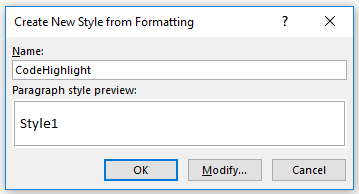
Here's an example of the Code and CodeHighlight styles in action in word:

Next help article: Custom tables →