Generate your Excel Report
This guide contains:

Before you begin:
-
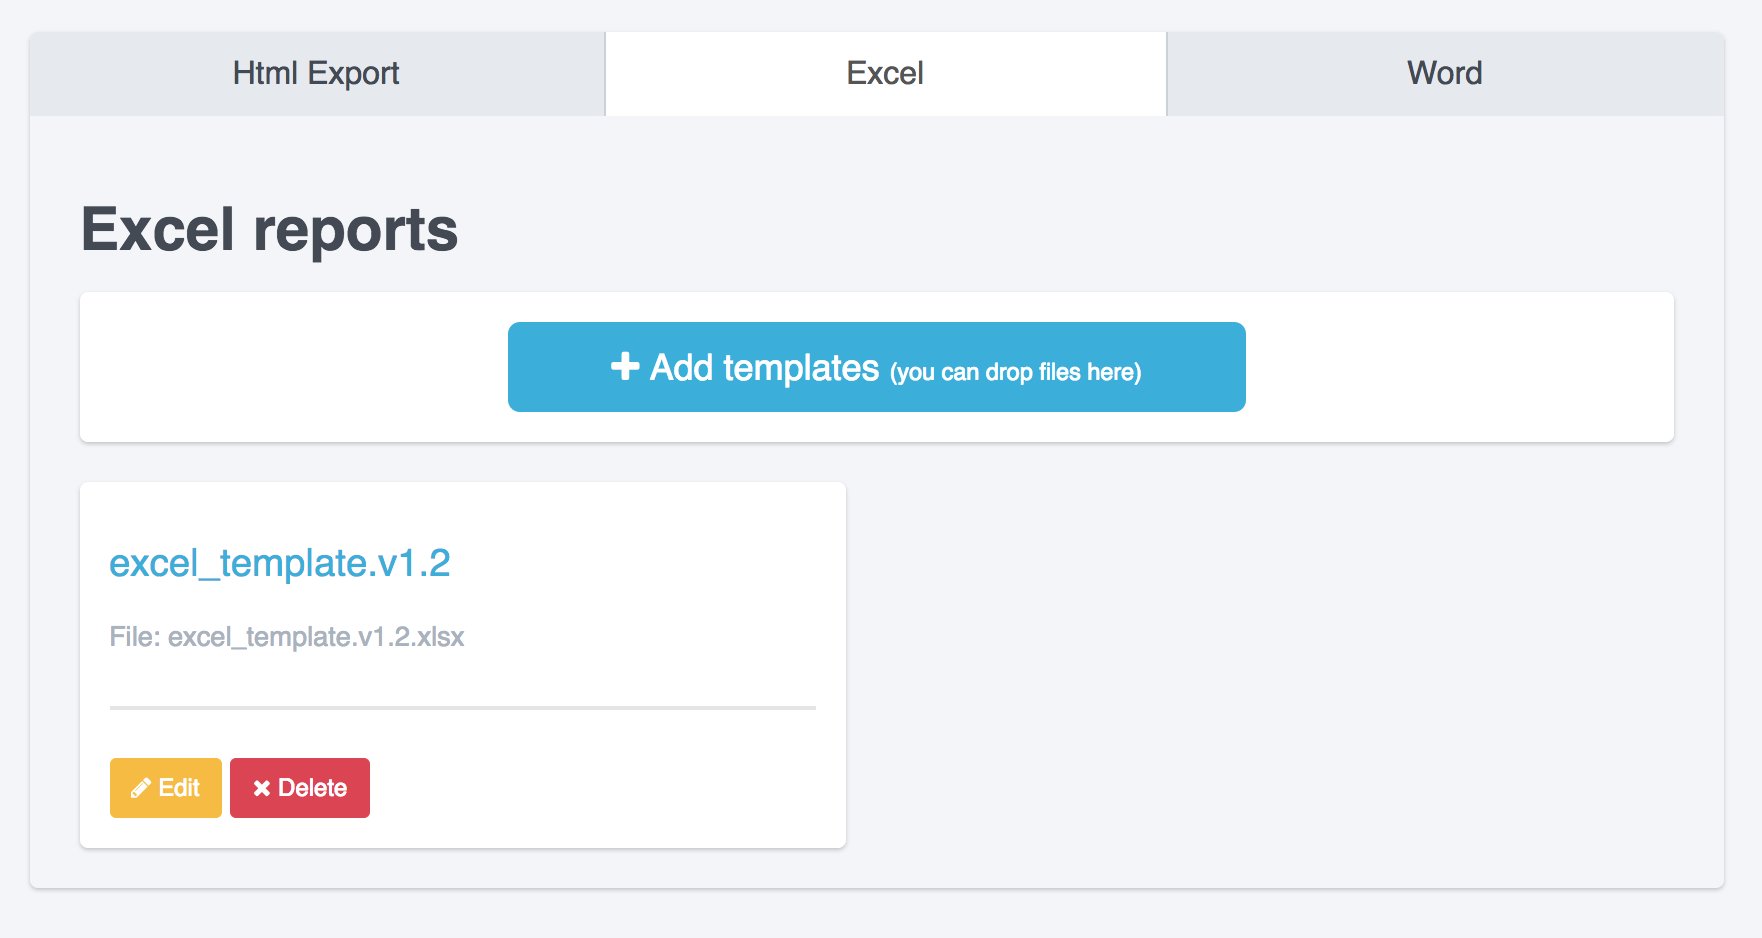
Follow the instructions in the administration guide to upload your Excel report template under the Excel tab.

-
In the header, navigate to Projects and open up the project that you want to export into your Excel template.
Export your Excel report from the webapp
-
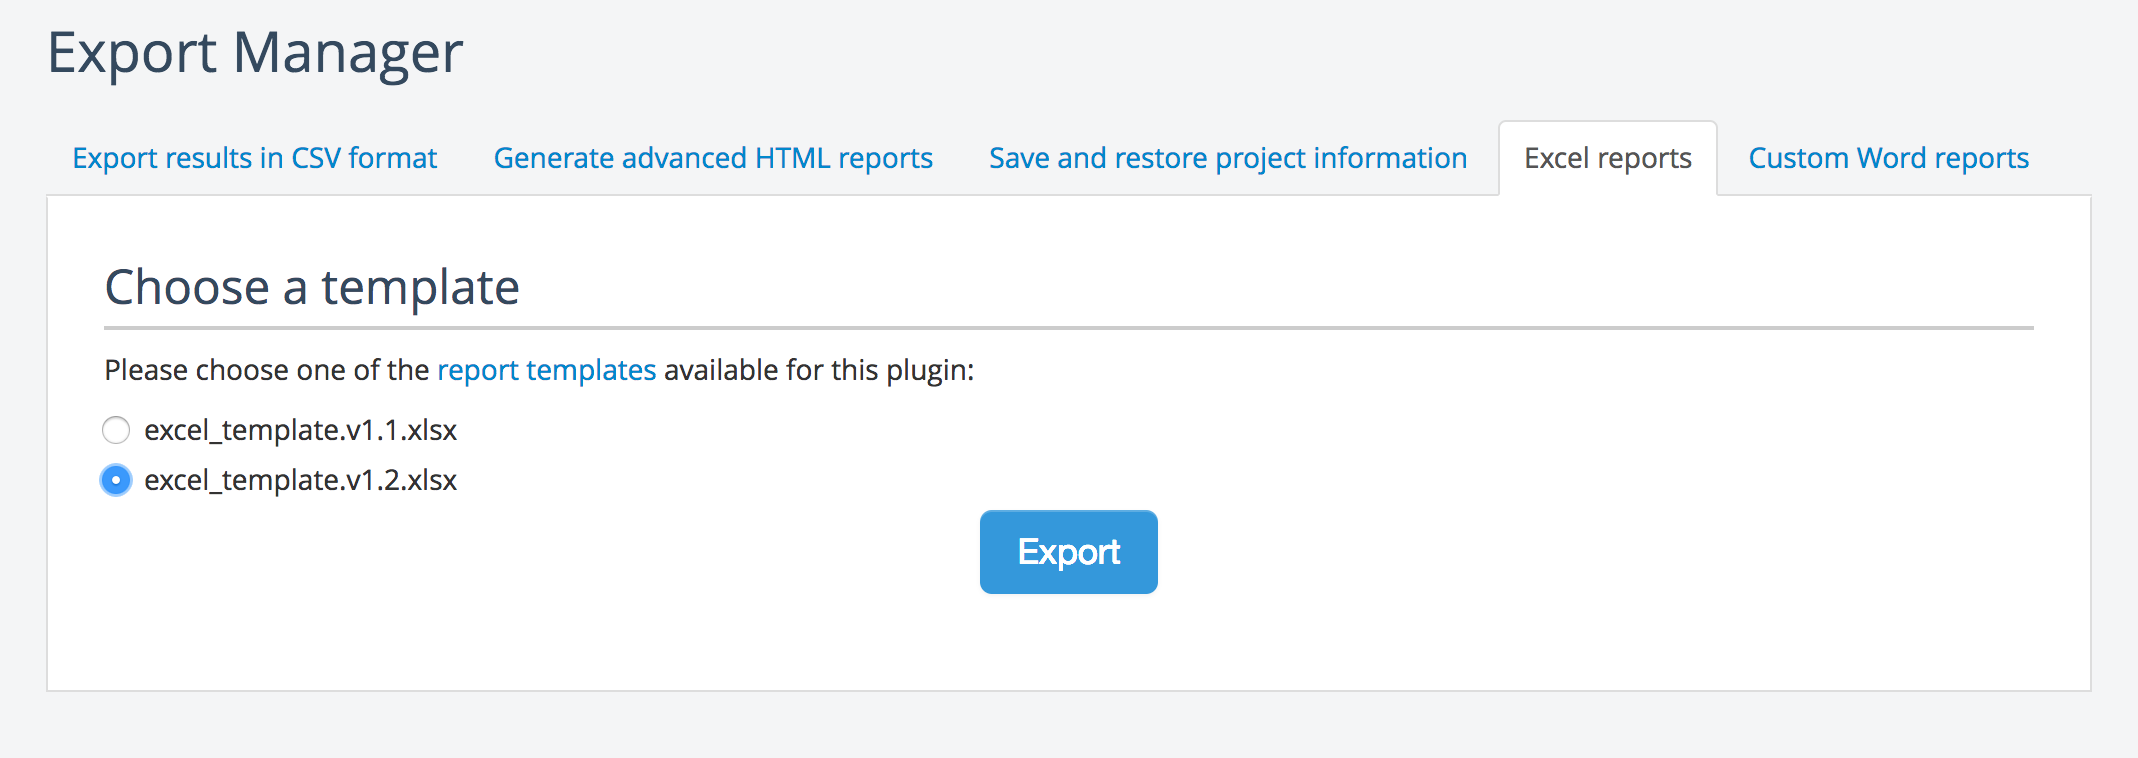
In the project, click Export results and navigate to the Excel reports tab.
-
Select the Excel report template you want to use, then click the Export button.

-
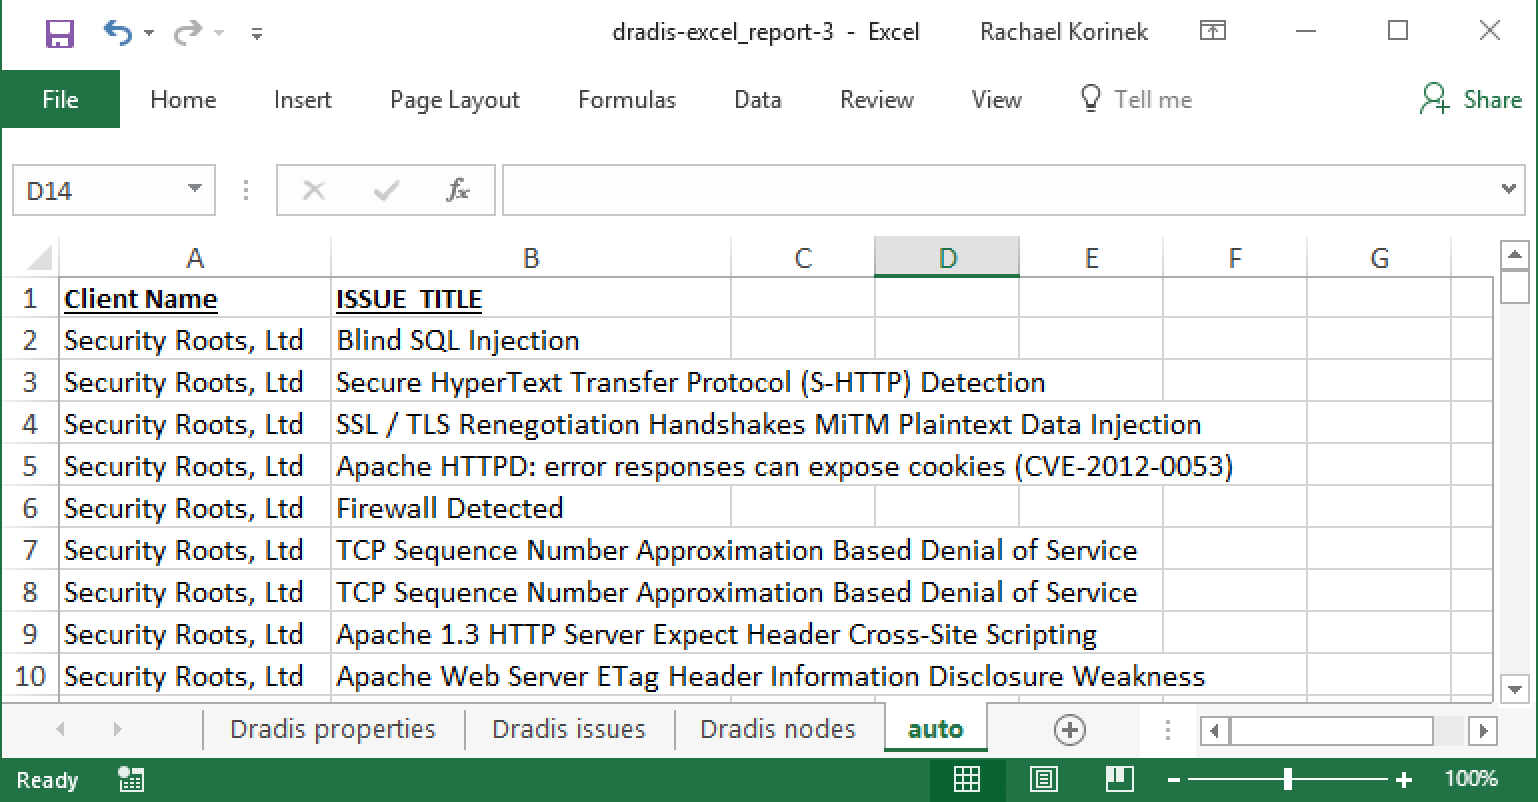
Your Excel file will automatically be created and downloaded. Open it up to see your results!
Export your Excel report from the command line
If you run into any problems exporting in the webapp, try generating your report through the command line instead.
This process will either succeed as expected or error out with a descriptive stack trace. If you encounter a stack trace, please let our support team know so that we can help!
Before you attempt the command line export, you'll need two pieces of information:
-
Your Project ID. You can get your project ID from the browser location bar once you open the project in the main Dradis interface. For example, if your URL is
https://dradis-pro.dev/pro/projects/123, your project ID would be 123 -
Your report template filepath. The location of the template can be anywhere in the appliance. However, if you used the web interface to upload your template there is a good chance it would have ended under this location:
/opt/dradispro/dradispro/current/templates/reports/excel/
Now, you're ready to export your report from the command line! Just follow these steps:
-
SSH into the console as dradispro, then run the following:
$ cd /opt/dradispro/dradispro/current/
-
Run the following command. Be sure to sub in your actual project ID for
123and your actual report template file path and name into the--template=parameter below:$ PROJECT_ID=123 RAILS_ENV=production bundle exec thor \ dradis:pro:plugins:excel:export \ --output=/tmp/ \ --template=/opt/dradispro/dradispro/current/templates/reports/excel/dradis_template-excel.xlsm Optionally you can use the
--scope=allparameter to export all issues in your project. Otherwise the exporter will default to only exporting Published issues.-
When the exporting process starts, the output should look like this:
Project found. Scoping all models to Project 123.
I, [2017-09-25TO02:22:23.092516 #1234] INFO -- : Report file created at:
/tmp/dradis-excel_report-2017-09-25_1.xlsm
Grab the exported report from the location listed in the output. Open it up to see your results!
Next help article: Sample Files →