JIRA Mappings
JIRA Integration is available for teams with a Remediate subscription.
To install JIRA, use the installation instructions.
The Mappings Manager lets you map fields from Dradis projects to fields you use in JIRA so that JIRA tickets can have content sorted into the relevant required and/or optional fields you use in JIRA tickets.
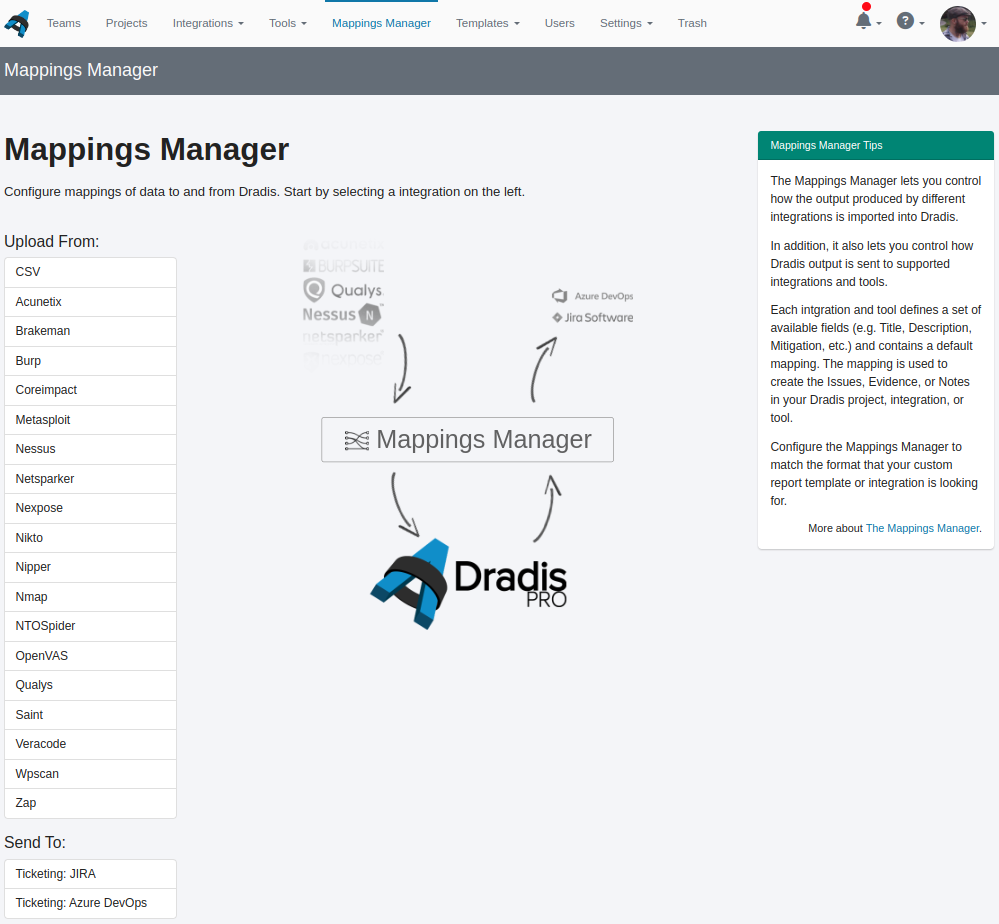
To get started, go to the Mappings Manager and click on Send To: Ticketing: JIRA.


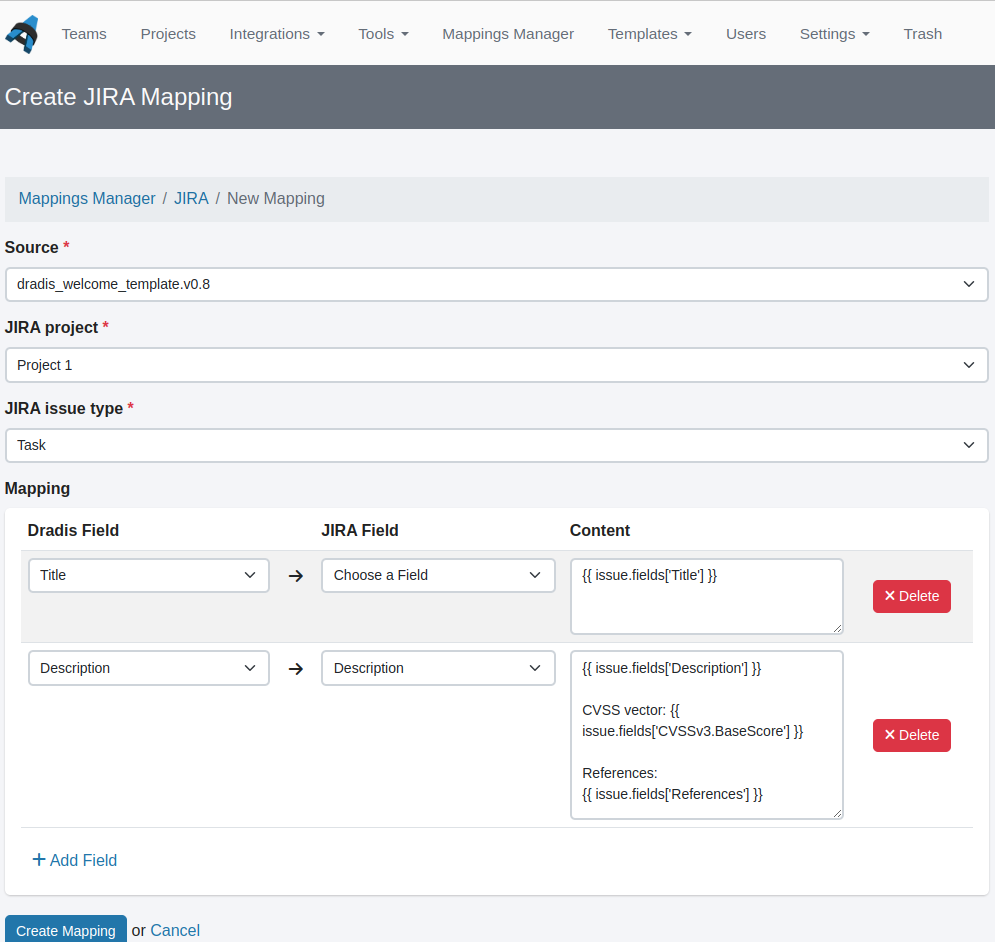
This is where you configure the mapping. You will need to select the Source; this is the template with report template properties assigned that is typically associated with the projects you want to synchronise with JIRA. The fields to be used in Dradis are taken from these report template properties.
Then set the JIRA project and JIRA issue type.
Next, start mapping the Dradis fields to the JIRA fields you would like to use. When you pick a Dradis field, e.g. Title, the Content field will be pre-populated with the Liquid syntax for that Issue field, e.g. {{ issue.fields['Title'] }}. Then pick the JIRA field you want to associate with that Dradis field.
You can also combine multiple Dradis fields as well as fixed content in the Content field. Select a Dradis field as a starting point, e.g. Description, the JIRA field you want populated, e.g. Description, and then set the Content to the combination of content you want to show. For example, if the Content looks like this:
{{ issue.fields['Description'] }}

CVSS vector: _{{ issue.fields['CVSSv3.Vector'] }}_

References:
{{ issue.fields['References'] }}
Then the Description field in JIRA tickets will be filled out with the Description, CVSS Vector, and References in the formatting as per the above.
Click Create Mapping to save.
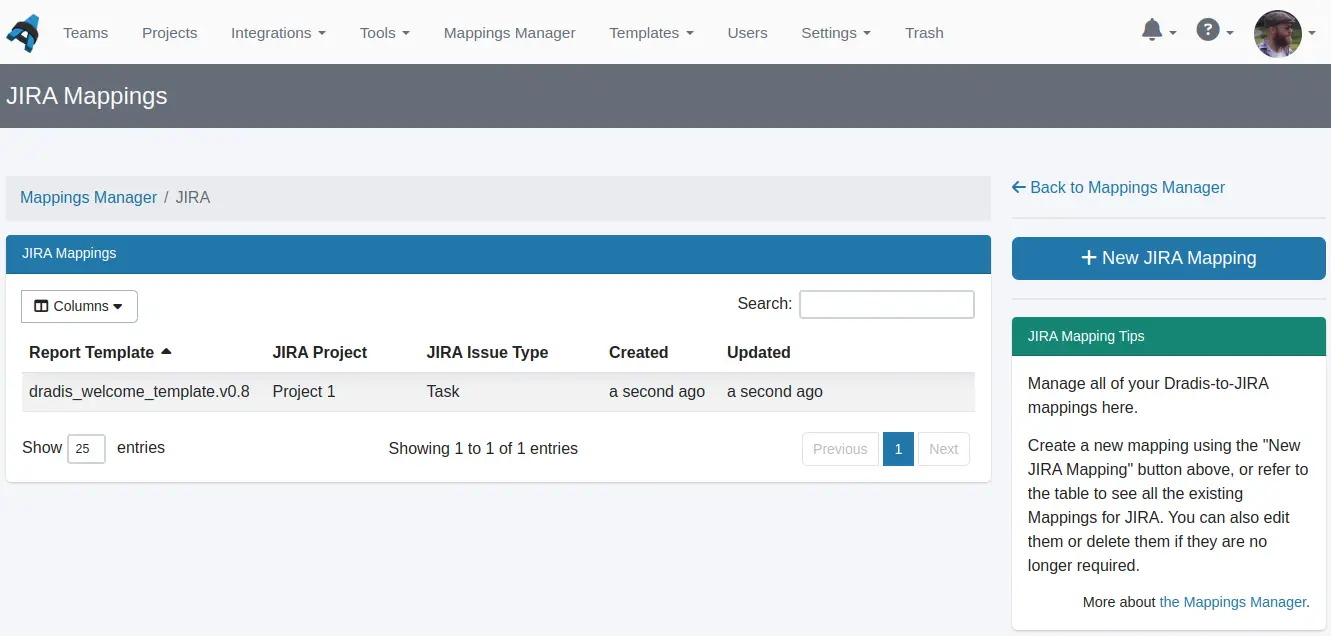
You can of course set multiple mappings, if you work with multiple projects or are sending multiple issue types from Dradis to JIRA. Naturally you can also Edit or Delete mappings from the Ticketing: JIRA view of the Mappings Manager.

Next help article: Azure DevOps Mappings →