Next Steps
This page contains:
- The Welcome Pack Report Template
- The Welcome Pack Project
- Generate the report
- Hardening and/or customising your Dradis instance
- Next steps
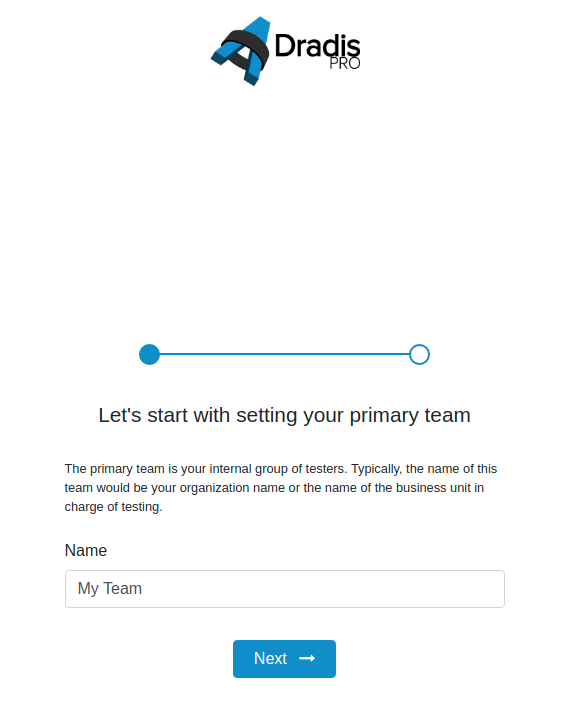
You're up and running! You will now be prompted to create your primary team.
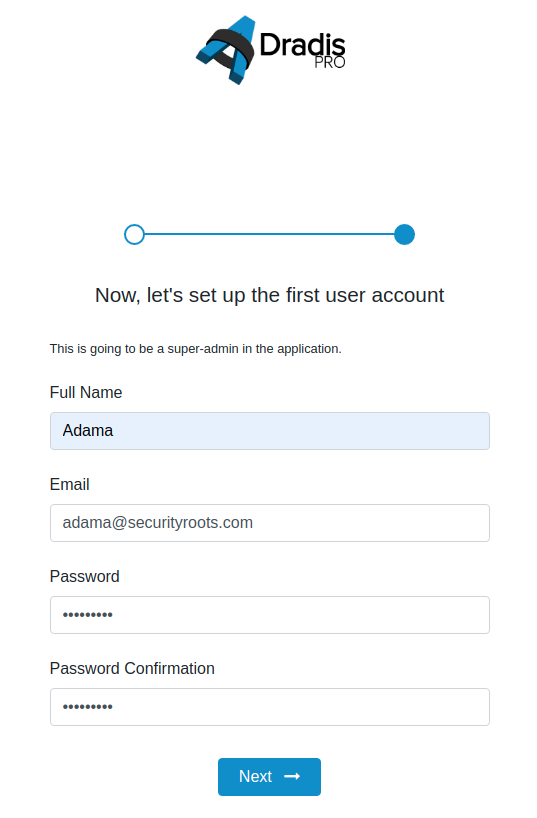
Next, create your first user.
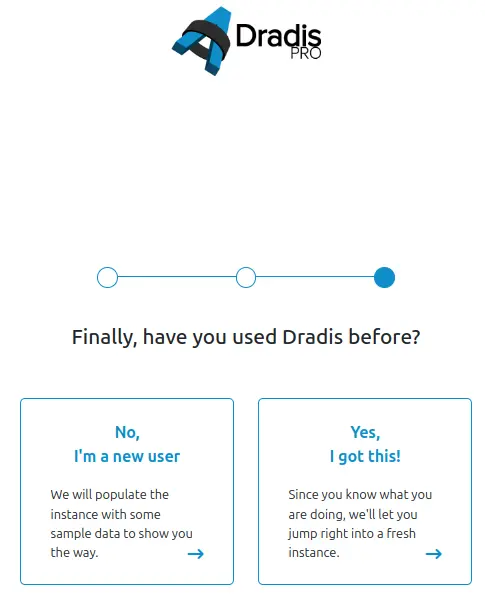
You will be asked whether you have used Dradis before. If you select "No, I'm a new user" then a Welcome Kit will be created on your Dradis instance, with sample templates and a sample project to try out Dradis funcionality.
If you select "Yes, I've got this!" then your Dradis instance will be blank apart from your custom team and user.
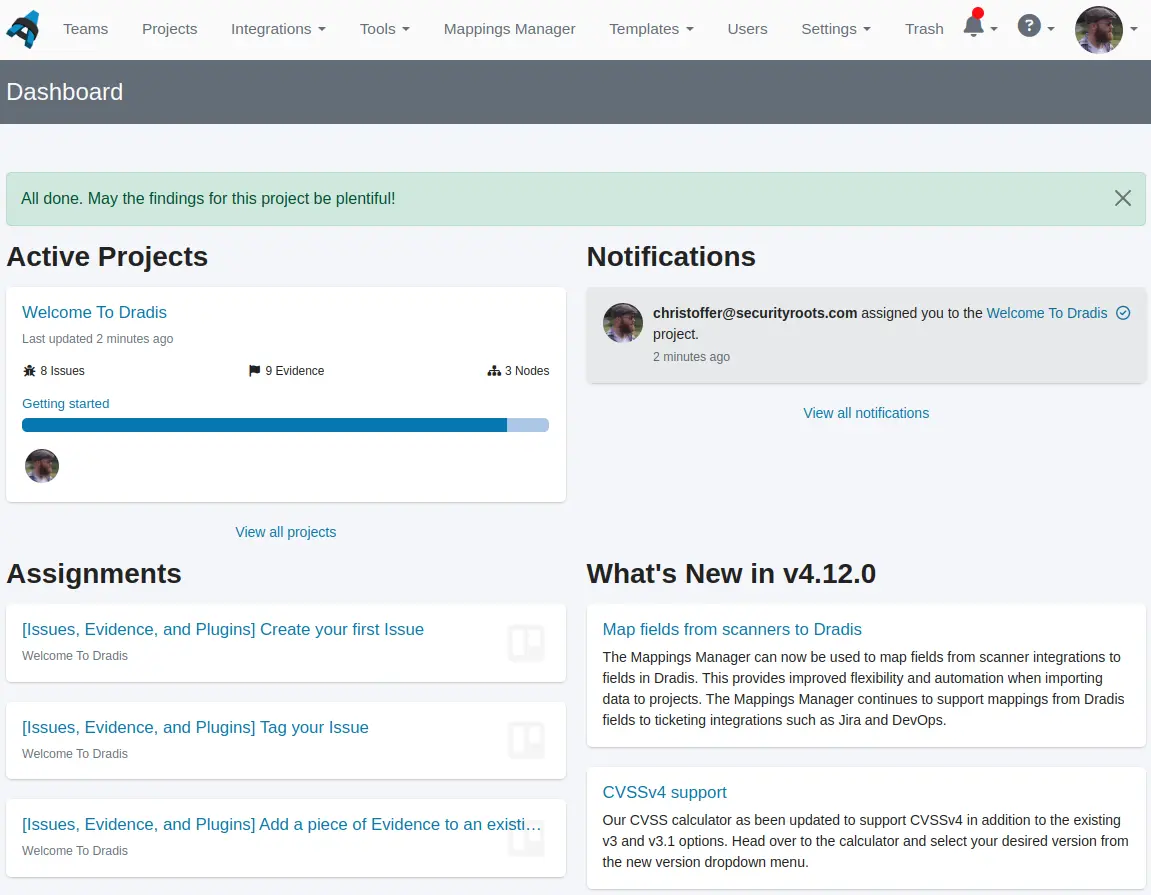
The next steps are now up to you. Dive into your sample project or take some time to get to know the platform.
The Welcome Pack Report Template
Your Welcome Kit includes templates to export Projects into Word, Excel, and HTML reports. The Word Report Template: dradis_template-welcome.v0.x.docx is a sample Dradis report template that showcases some of the options and possibilities of Dradis reporting for Word reports. Findings are organized by CVSSv4 base score and Content Blocks contain your project-specific details. Two charts display Issues by Risk Rating (based on CVSSv4 score) and Location (Internal vs External). More details about your Welcome Kit's Word report template, which also serves as an introductory guide to custom Word reporting, can be found here.
The Welcome Pack Project
Your Welcome Kit contains a custom Dradis template and a full Dradis project complete with custom findings that is created on your instance if you selected "No, I'm a new user" in the deployment flow above. The project is configured to work with the template so you can see how changing things in your sample project affects the output in reports.
Below you can see what it will look like after the package has been uploaded.
Overview
Your sample project comes pre-populated with everything you need to generate your first automated report.
Click the project name in the top left corner to access the Overview page.
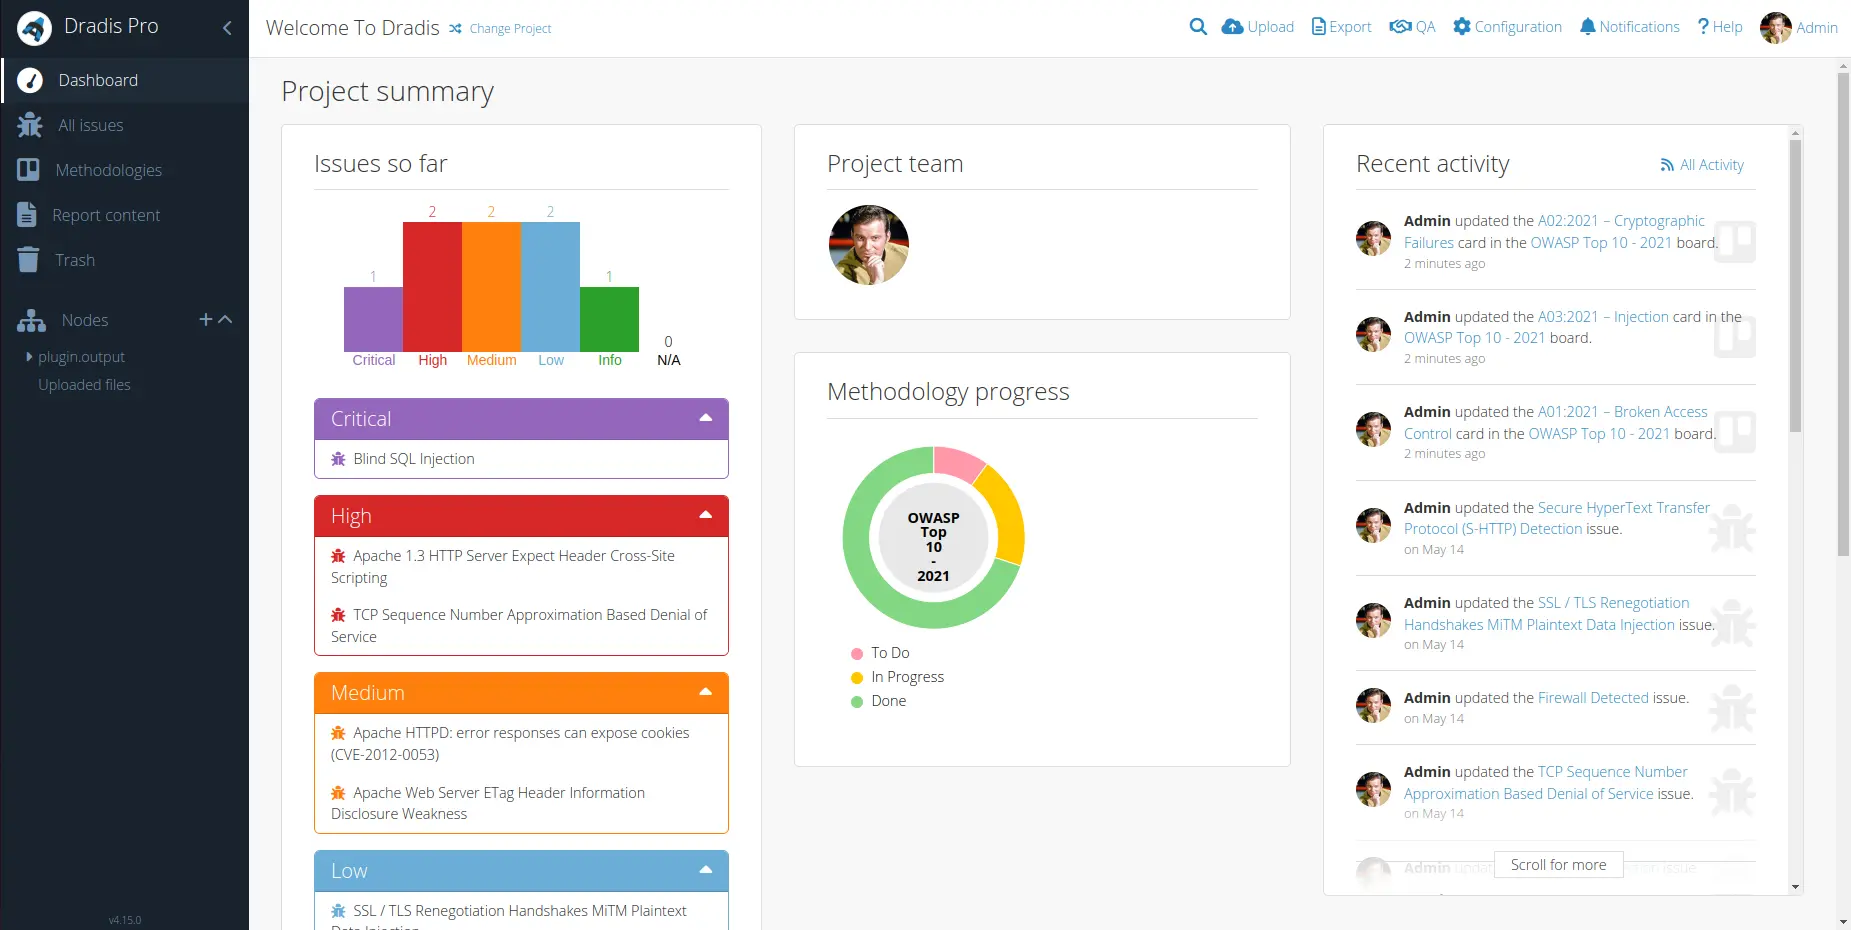
Under Issues so far, you can see that the project comes with 8 Issues. The colored tags (e.g. Critical) are applied based on the value of the #[CVSSv4.BaseScore]# field.
Under Methodology progress, you can see that the project also has the OWASP Top 10 - 2021 Methodology associated with it.
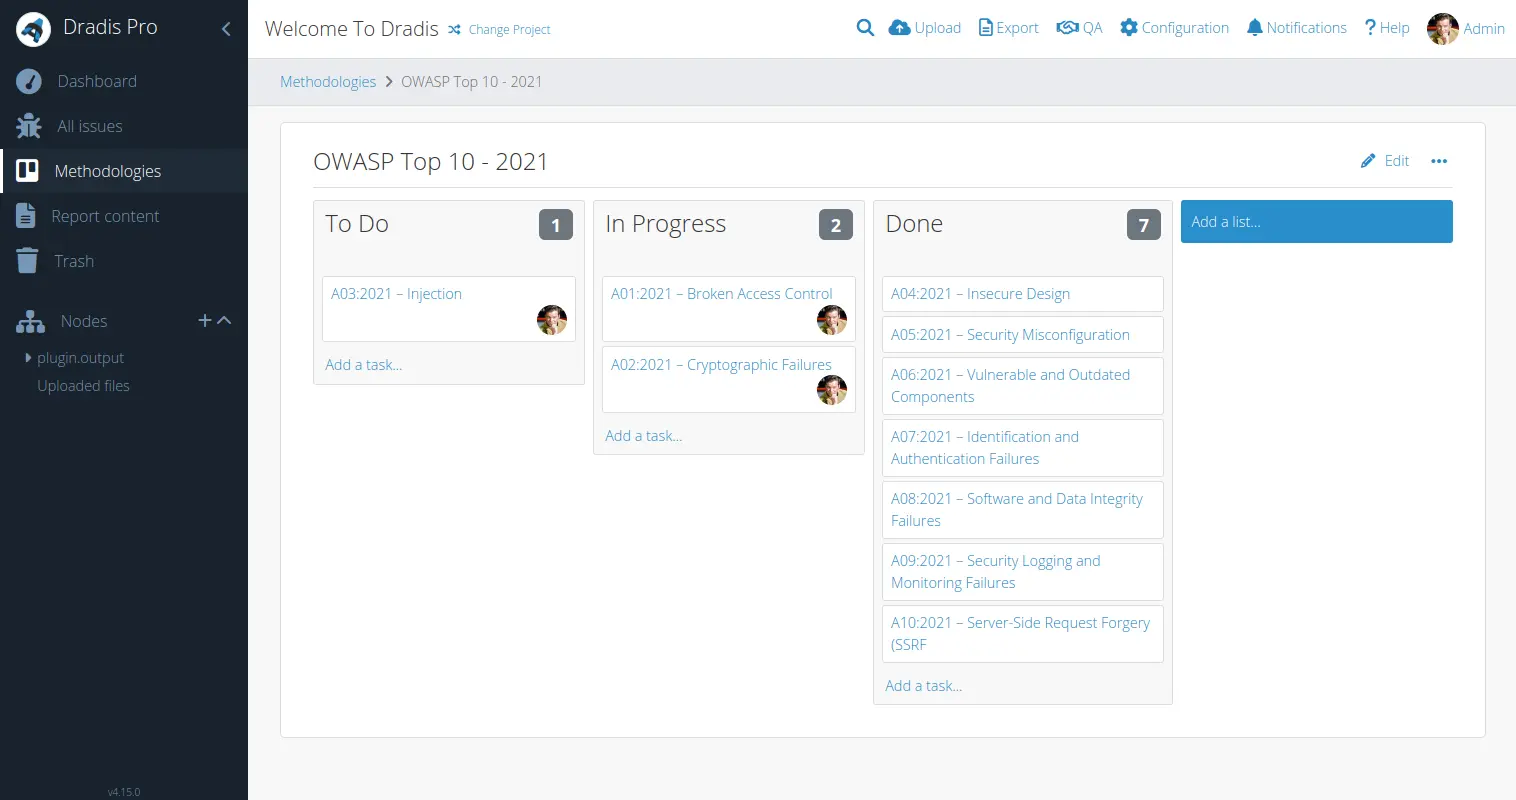
Methodologies
Move a few tasks from the To Do to the Done list, then navigate back to the Overview page to see your progress.
Interested in using another Methodology instead?
Check out the Sample testing methodologies available for download in the Dradis Users Portal portal (OSSTMM v3, OWASP Web Testing, and more)
Then, use the Methodology Templates page of the Administration guide to learn how to upload them to your instance.
Issues
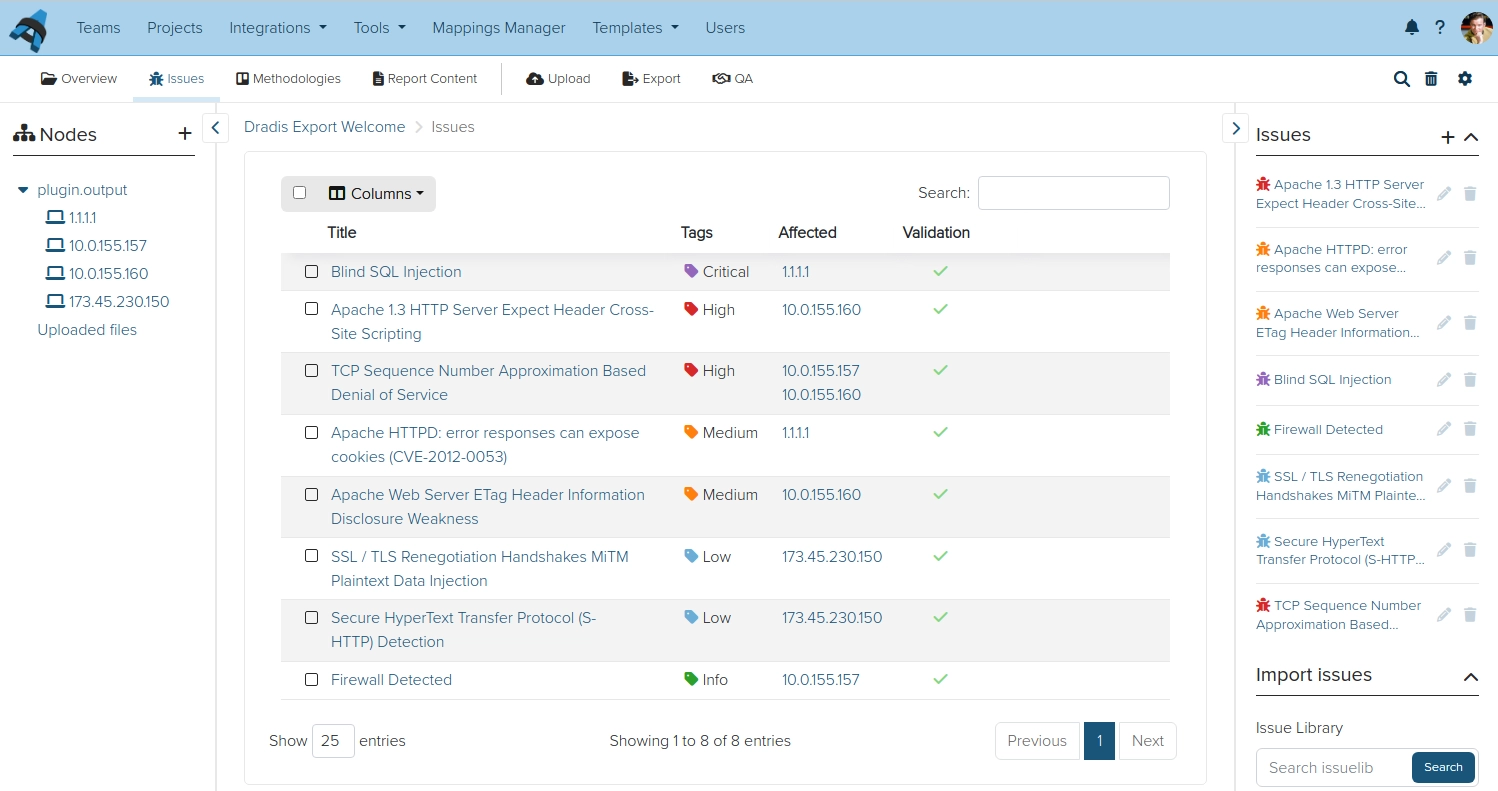
Click Issues in the top panel to see a summary of the Issues in your project. Click the columns icon for a dropdown to pick and choose what information the summary will display.
For example, in the screenshot below we have chosen to display the Tags field for each Issue. Remember that the Issue tags are based on the #[CVSSv4.BaseScore]# field value. That's the field that your report template cares about, not the colored tag itself!
#[Title]#


#[CVSSv4.BaseScore]#


#[CVSSv4.Vector]#


#[Type]#
Internal | External


#[Description]#


#[Solution]#


#[References]#
Issue fields
Every Issue in your Welcome Pack Project needs to contain the following fields:
Title: A friendly title describing the vulnerability.
-
CVSSv4.BaseScore: The CVSSv4 score, mapped to Risk Rating using the following ranges:
CVSSv4 9.0 to 10.0 = Critical
CVSSv4 7.0 to 8.9 = High
CVSSv4 4.0 to 6.9 = Medium
CVSSv4 0.1 to 3.9 = Low
CVSSv4 0.0 = Informational
Type: Issue Location, either Internal or External
Description: A long-form description of the problem with screenshots, HTTP snippets, etc.
Solution: Long-form mitigation advice.
References: Links and locations to find more information on the specific vulnerability.
Evidence fields
Learn more about the difference between Issues and Evidence in Dradis in our Working with Projects guide.
Every instance of Evidence in your Welcome Pack Project needs to contain the following fields:
Location: Port/Protocol, Parameter, etc
Output: block code, exploit details, screenshots, request/response data, or any other content you want to display in your reports.
#[Location]#


#[Output]#
Content Blocks
Content Blocks hold the sort of project-specific information that isn't related to an Issue/Evidence like an Executive Summary or a Conclusion.
In this project, the Summary of content blocks section of the Report Content page holds the following Content Blocks:
Conclusions and Recommendations: the place to write up a summary of the findings in the report. This Note will export into the Executive Summary > Conclusions and Recommendations section of the report template.
Example Appendix Content: this is the place to include information from your Dradis project in Appendix B of your report template.

Report Content
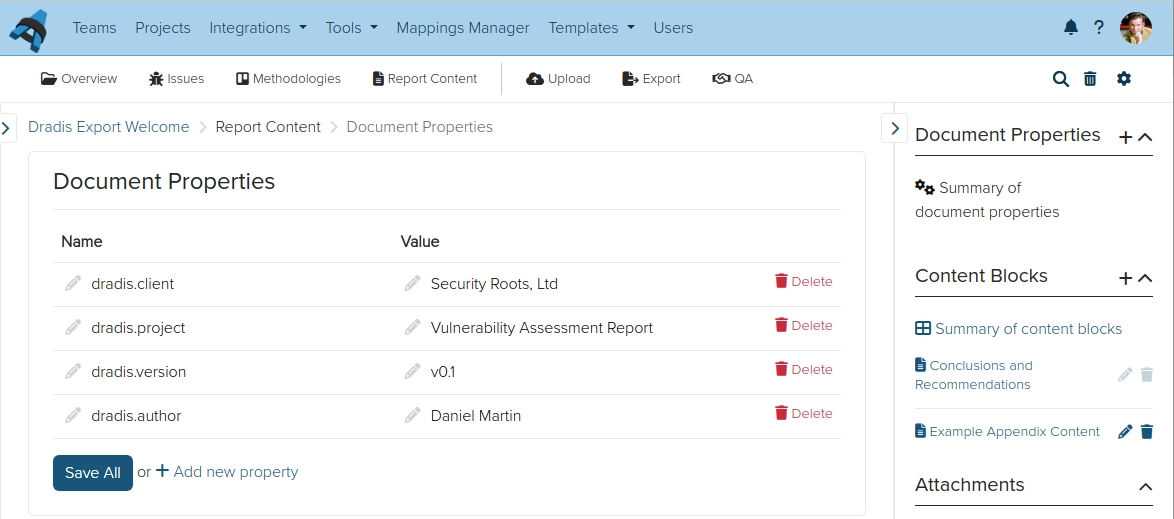
Click Report Content in the left hand sidebar and navigate to Summary of document properties to see the Document Properties in your project:
dradis.client: the client's company namedradis.project: the report titledradis.version: the document's version numberdradis.author: the document's author
These are project-specific and are repeated throughout your report template in places like the title page, the header, and inside static text. Learn more about Report Content in the Working with Projects guide.
Generate the report
Now that you have your Welcome template and project set up, you can export your first report. Inside your project, click Export and select the format you want to export to. For more details, check out our guide in the Working with Projects guide. We also have a video guide here.
Hardening and/or customising your Dradis instance
Your Dradis instance ships with a default volume passkey, default volume encryption key, and default credentials. If your instance is going to be exposed at all to people outside your team, you will want to customise these settings so they are unique. Our customisation section includes guides to do so, such as:
- Re-encrypt your LUKS-encrypted disk and generate a new volume key
- Change your LUKS-encrypted drive's passphrase
- Change default CIC password
- Change default OS and database passwords
- Restricting Image Domains with Rails CSP
Recommended next steps:
- Check out the Projects 101 guide for more information on how the different parts of Dradis work together and to get started on your own projects.
- You can use a Project Template to ensure that the projects you create follow the same pattern, and can even be pre-populated with default content.
- Add issues and Evidence manually to your projects.
- Configure your Mappings Manager to start working with tool output. Check out our video guide to go from a Nessus file to a Word report.
- Take your reporting to the next level with custom Excel and HTML report templates.
Next help article: Upgrade Dradis Pro →
Last updated by Daniel Martin on 2026-02-12